Dutch Oven Braised Short Ribs

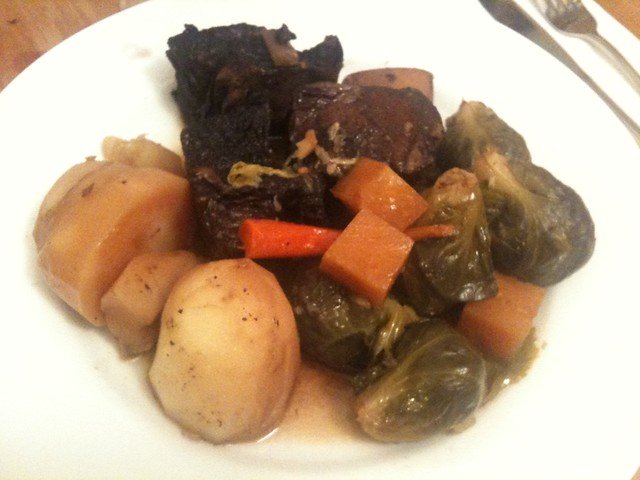
Fall-off-the-bone Dutch oven braised short ribs, richly flavored with red wine, aromatics, and a glossy reduced braising sauce—perfect for weeknight luxury or special occasions.

30 min Prep Time
180 min Cook Time
210 min Total Time
6 Servings
Medium Difficulty

Ingredients

Servings:
6
Nutrition (per serving)
Calories 820 kcal
Protein 48g
Fat 62g
Carbohydrates 14g
Fiber 2g
💾 Storage

Cool to room temperature then refrigerate in airtight containers for up to 3-4 days. For longer storage, freeze portions in airtight containers or heavy-duty freezer bags for up to 3 months. Reheat gently in a low oven (300°F/150°C) covered until warmed through, or reheat on the stovetop over low heat, adding a splash of stock to loosen the sauce.

🍳

Best Made With: Dutch Oven

Choose an enameled cast-iron Dutch oven in the 5–7 quart range for even heat retention and easy cleanup.

See Our Top Dutch Oven Picks →

Dutch Oven Braised Short Ribs

There’s a reason braised short ribs are a dinner-party favorite: inexpensive cuts of beef transform into deeply flavored, fork-tender meat when cooked low and slow in a well-sealed pot. Using a Dutch oven concentrates flavor, creates a silky sauce, and yields consistent results whether you finish the dish on the stovetop or in the oven.

This recipe leans on the classics—brown the meat for Maillard flavor, build a savory soffritto (onion, carrot, celery), deglaze with red wine, and braise in beef stock and aromatics until the meat is meltingly tender. The final sauce reduction turns the braising liquid into a glossy, restaurant-style gravy that coats the ribs and any side you choose.

Why this recipe works

Braising short ribs in a heavy, tight-fitting Dutch oven traps steam and ensures even heat distribution. The combination of initial high-heat searing and long, gentle braising creates a contrast of flavors: caramelized exterior notes and deep beefy richness from the long cook. Red wine and tomato paste add acidity to balance the fattiness, while fresh herbs lend brightness at the finish.

Choosing the right equipment

A reliable Dutch oven is the cornerstone of successful braising. For home cooks I recommend an enameled cast-iron Dutch oven in the 5–7 quart range—large enough to fit a full rack of short ribs in a single layer, with heavy walls to maintain steady heat. If you’re shopping, take a look at our buying guide for the best Dutch ovens for sourdough (and braising) to compare sizes and finishes: Best Dutch Ovens for Sourdough.

Prefer to see options on Amazon? Here are two tools many home cooks find indispensable: an enameled cast iron Dutch oven and a quality chef’s knife. (Affiliate links): Enameled cast iron Dutch ovens on Amazon and Chef’s knives on Amazon. Both make prep and execution much easier and more reliable.

How to plan this cook

Plan for about 30 minutes active prep and 2 1/2–3 hours of hands-off braising in a 325°F (160°C) oven. You can braise on the stovetop with a very low simmer, but the oven method gives the most even, forgiving heat. This dish is perfect to make a day ahead—the flavors deepen overnight and reheating is simple.

Serving suggestions

Serve the short ribs over creamy mashed potatoes, polenta, or buttered egg noodles to soak up the sauce. A side of roasted root vegetables or a simple green salad cuts the richness. For storing leftovers, keep in airtight containers—see our guide to the best stainless steel food storage containers for long-term freshness: Best Stainless Steel Food Storage Containers.

Tips and variations

1. Brown well: Don’t rush the searing step—good caramelization adds depth to the final sauce.

2. Strain and reduce the sauce: For a silky finish, strain the braising liquid, skim fat if desired, then reduce it on the stovetop until slightly thickened.

3. Make ahead: Braise a day ahead and refrigerate. Reheat gently; flavors improve after resting.

4. Wine substitutes: If you prefer not to use wine, replace it with additional beef stock and 1 tablespoon red wine vinegar for brightness.

With the right pot and a little time, this Dutch oven braised short ribs recipe will become a go-to for holidays and cozy dinners alike. Scroll down for the printable ingredient list and step-by-step instructions.

Want more baking and cookware recommendations? If you also bake bread to serve with this dish, you might like our guides to loaf pans and other bakeware: Best Loaf Pans for Bread Baking.
Instructions

1

1. Preheat and season

Preheat your oven to 325°F (160°C). Pat the short ribs dry with paper towels. Season generously with kosher salt and black pepper; if you like a slightly thicker crust, lightly dust the ribs with flour and shake off excess.

💡 Pro tip: Drying the meat before searing promotes better browning.
2

2. Sear the ribs

Heat the Dutch oven over medium-high heat and add the vegetable oil. Once shimmering, sear the ribs in batches without crowding, 3–4 minutes per side, until a deep brown crust forms. Transfer seared ribs to a plate.

💡 Pro tip: Work in batches to avoid steaming the meat; a hot pot is essential for color.
3

3. Build the base (soffritto)

Lower the heat to medium. Add a touch more oil if needed and sauté the diced onion, carrot, and celery until softened and beginning to brown (about 6–8 minutes). Add the garlic and tomato paste and cook 1–2 minutes until the tomato paste darkens and loses its raw edge.

💡 Pro tip: Scrape up browned bits from the pot—they’re packed with flavor.
4

4. Deglaze and assemble

Pour in the red wine to deglaze, scraping the bottom to lift fond. Bring to a simmer and reduce the wine by about half (2–4 minutes). Return the short ribs to the pot, nestling them into a single layer. Add beef stock, Worcestershire sauce, brown sugar (if using), fresh herbs, and bay leaves—the liquid should come about two-thirds up the ribs. Bring to a gentle simmer.

💡 Pro tip: Reducing the wine concentrates flavor and ensures a balanced sauce.
5

5. Braise in the oven

Cover the Dutch oven tightly with its lid and transfer to the preheated oven. Braise for 2 1/2 to 3 hours, or until the meat is fork-tender and pulls away from the bone easily. Check once about halfway through to ensure liquid level is adequate—add a splash of stock if it’s getting too low.

💡 Pro tip: Low and slow is the key—don’t rush braising and avoid high temperatures.
6

6. Rest and finish the sauce

Carefully remove the ribs to a platter and tent with foil to rest. Strain the braising liquid into a saucepan, pressing down on solids to extract flavor, then discard solids and herbs. Skim excess fat from the surface, then simmer the liquid until it reduces and thickens to a sauce consistency. Whisk in cold butter off the heat for shine and richness, if desired. Season to taste with salt and pepper.

💡 Pro tip: Cooling the braising liquid slightly makes fat easier to remove if you prefer a leaner sauce.
7

7. Serve

Return ribs to the sauce or spoon sauce over the plated ribs. Serve over mashed potatoes, polenta, or noodles with a sprinkle of fresh parsley for color.

💡 Pro tip: Make-ahead: refrigerate overnight and rewarm slowly in a low oven; flavors will deepen.

More to Cook

You Might Also Like

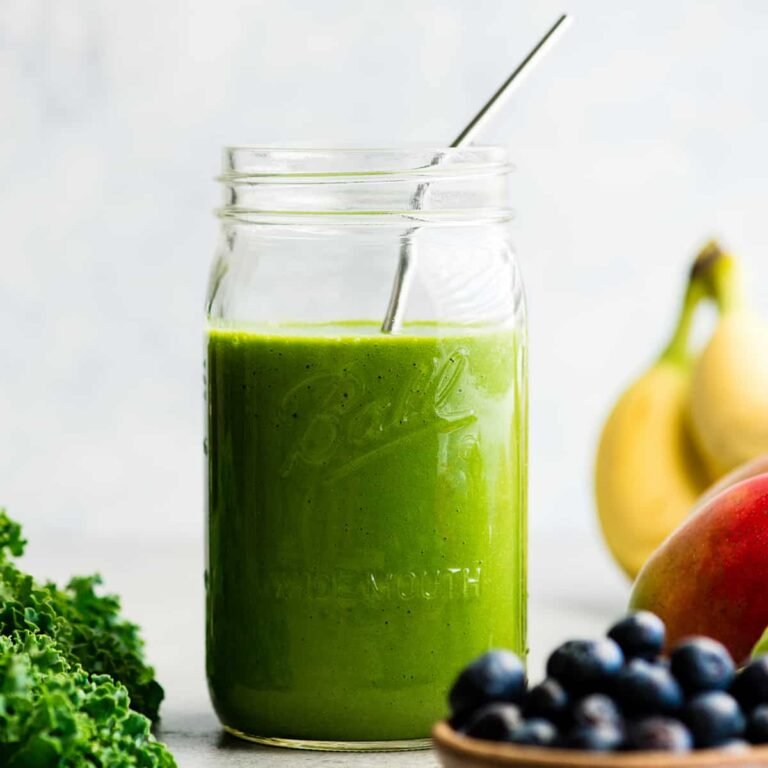
Ultimate Green Smoothie

A green smoothie that actually tastes great — tropical fruit flavor with 2 cups of spinach hidden inside. The liquid-first blending technique ensures a perfectly smooth result every time.

View Recipe →

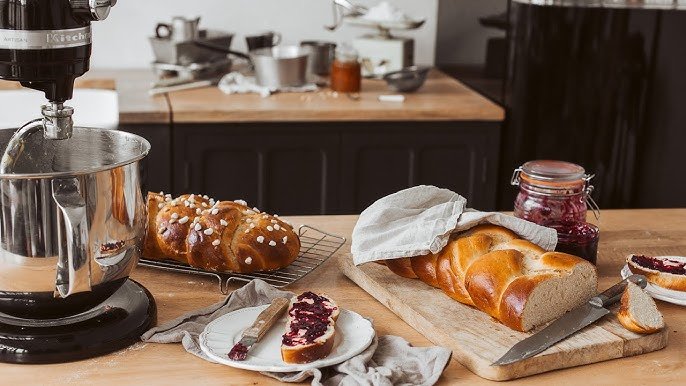
Stand Mixer Brioche Bread

Learn how to make rich, buttery brioche using a stand mixer and your oven — a foolproof method for soft, tender loaves that slice beautifully. This recipe fits both weekday breakfasts and weekend baking projects with clear steps, tips, and variations.

View Recipe →

Stay in the loop

Get the Best Kitchen Picks Delivered

New buying guides, honest reviews, and kitchen-tested recipes — straight to your inbox. No spam, ever.