Homemade Peanut Butter (Blender Method)
Making peanut butter at home is surprisingly simple and endlessly rewarding. With just roasted peanuts and a good blender you can produce peanut butter that’s fresher, more flavorful, and customizable to your taste — from ultra-smooth to satisfyingly chunky. Unlike store-bought varieties, homemade peanut butter lets you control the salt, sugar, and oil so you get exactly what you want.
This recipe works because peanuts are naturally high in oil; when ground, their oils release and bind the ground nut solids into a creamy emulsion. The key is the right balance of blending time and power to coax out those oils without overheating the nuts. A short rest-and-pulse technique also helps preserve flavor while avoiding a grainy texture.
Why this method is special
Using a blender to make peanut butter gives you two big advantages: speed and texture control. High-speed blenders can turn peanuts into a smooth spread in a few minutes, while allowing you to stop when the texture is just right. There’s also less cleanup vs. multi-part food processors, and blenders are versatile appliances you likely already own for smoothies and sauces.
If you’re shopping for a blender or comparing models, our buying guides cover the best options and how to choose for different needs. See our guide to Best Blenders for Smoothies for models that double as high-power workhorses, or read the head-to-head in Vitamix vs Ninja: Which Blender Brand Should You Buy? to decide which brand fits your kitchen and budget.
Choosing the right equipment
Not all blenders are created equal. For nut butters you want a model with strong motor power and durable blades — ideally a high-speed countertop blender designed for thick mixtures. If you don’t have a toothy blender, a heavy-duty personal blender or a food processor may work, but expect longer blending times and possibly a slightly different texture.
If you’re shopping, consider browsing a reliable high-power option like a Vitamix or similarly rated countertop blender: Find Vitamix blenders on Amazon. For accessories and storage, a set of airtight glass jars is handy for keeping peanut butter fresh: Glass storage jars on Amazon. A flexible silicone spatula also makes scraping the jar and blender pitcher easy: Silicone spatulas on Amazon.
What to expect
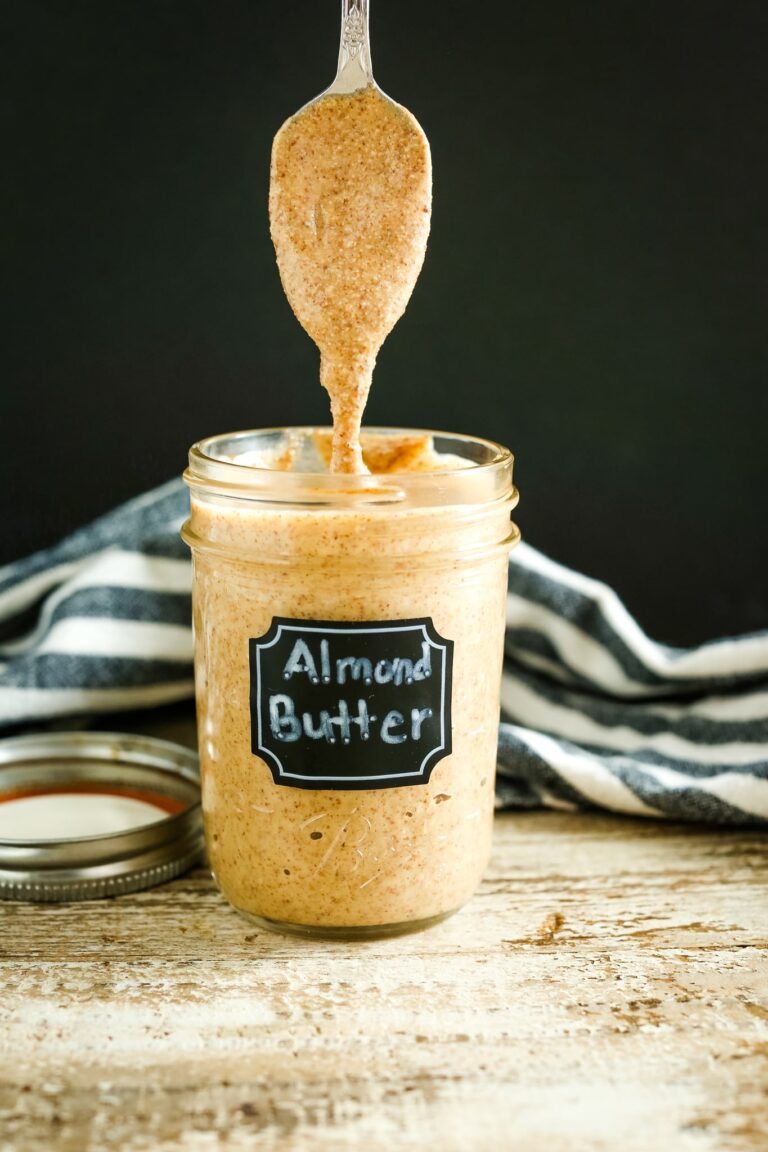
Once you grind roasted peanuts, you’ll notice stages: first a coarse meal, then a crumbly paste, followed by a thick, clinging mass, and finally a smooth, pourable peanut butter as oils release. Timing varies by blender power and the peanuts’ oil content — expect anywhere from 3 to 8 minutes of active blending with periodic stops to scrape the sides.
This method yields a pure-flavor peanut butter with a short ingredient list and the freedom to add salt, sweetener, or oil to your preference. You can leave it completely natural or stir in honey, cinnamon, or a touch of neutral oil for increased creaminess.
Tips and Variations
- Use freshly roasted peanuts for the best flavor; if your peanuts are raw, roast them on a sheet at 350°F (175°C) for 8–12 minutes until fragrant and lightly browned.
- To make chunky peanut butter, reserve 1/2 cup of coarsely chopped peanuts and stir them in after the main batch is smooth.
- If your blender overheats or stalls, pulse in short bursts and give the motor a minute to cool. For very thick mixtures, add 1 teaspoon of neutral oil (peanut, avocado, or light olive oil) at a time until you reach the desired consistency.
- Sweeten or flavor to taste — a tablespoon of honey, maple syrup, or a pinch of cinnamon or cocoa powder can transform the spread into a dessert-style treat.
Final notes and serving ideas
Homemade peanut butter keeps the best when stored cool and airtight — see the storage section below for specifics. Use it on toast, in smoothies, for baking, or as the foundation for sauces and dressings. Once you start making your own, it’s hard to go back to jarred versions.
If you want recommendations while you shop, compare models and features in our Best Blenders for Smoothies guide and read user-focused brand comparisons in Vitamix vs Ninja.
Ready to get started? Scroll down to the ingredients and step-by-step instructions to make your jar of homemade peanut butter today.