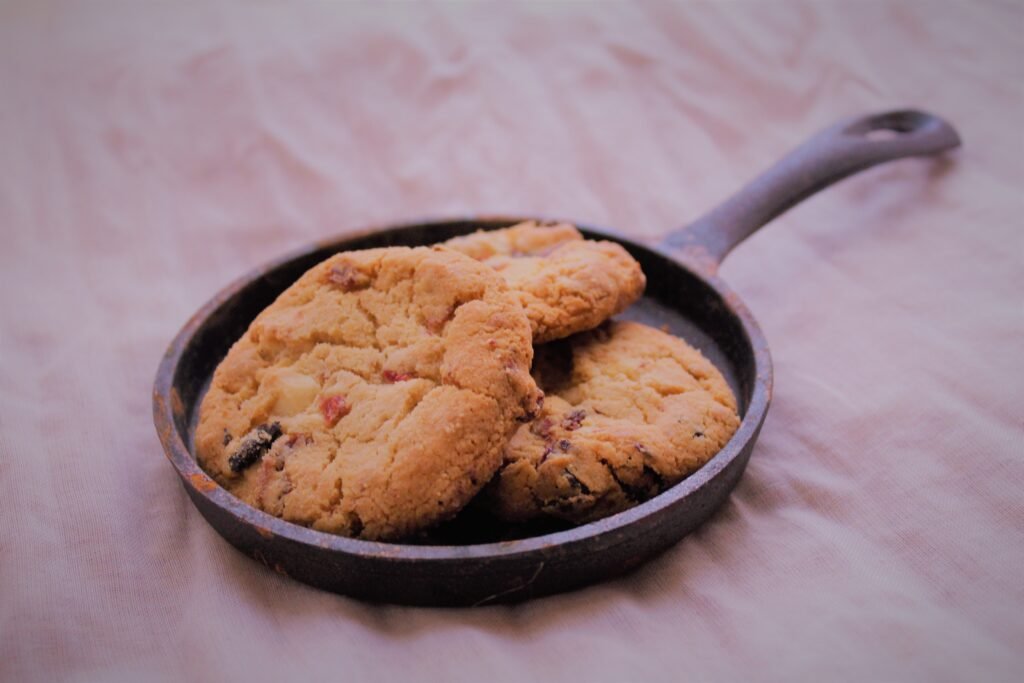
Cast Iron Skillet Chocolate Chip Cookie

A giant, gooey chocolate chip cookie baked in a cast iron skillet — crisp edges, chewy center, and simple pantry ingredients. Perfect for sharing straight from the pan or slicing into warm wedges for dessert.

15 min Prep Time
18 min Cook Time
33 min Total Time
8 Servings
Easy Difficulty

Ingredients

Servings:
8
Nutrition (per serving)
Calories 560 kcal
Protein 6g
Fat 30g
Carbohydrates 72g
Fiber 3g
💾 Storage

Store cooled leftovers covered at room temperature for up to 2 days. For longer storage, refrigerate in an airtight container for up to 5 days; reheat individual slices in a 350°F oven or microwave briefly to restore gooeyness. For freezing, wrap cooled slices tightly in plastic wrap and store in a freezer bag for up to 2 months; thaw at room temperature and warm before serving.

🍳

Best Made With: Cast Iron Skillet

Choose a well-seasoned 10- or 12-inch cast iron skillet for even heating and easy release; a preheated skillet gives the crispiest edges.

See Our Top Cast Iron Skillet Picks →

Cast Iron Skillet Chocolate Chip Cookie

There’s something instantly nostalgic and dramatic about serving a warm, oversized chocolate chip cookie right from a hot cast iron skillet. This recipe combines the best of both worlds: the crisp, caramelized edges you get from the skillet’s heat retention and the soft, gooey center that makes each bite feel indulgent. It’s quick to mix, easy to scale, and perfect for dinner parties or a cozy night in.

What makes this skillet cookie special is not just the texture, but the way the cast iron shapes the bake. The skillet’s even heat and ability to hold high temperatures create a thin, crackly edge while keeping the interior thick and tender. Serve it with a scoop of vanilla ice cream or a drizzle of caramel for a crowd-pleasing dessert.

Why this recipe works

This recipe uses a higher ratio of brown sugar to white sugar and melted butter, which promotes chewiness and a richer flavor. A short chilling step lets the dough relax and develop flavor without being too firm, so the cookie spreads nicely in the skillet while still keeping a dense interior. Baking in a preheated cast iron skillet encourages perfect edge crisping and a warm center that remains slightly underbaked for that oozy texture.

Choosing the right equipment

A good 10- or 12-inch cast iron skillet is the heart of this recipe. Cast iron is ideal because it delivers consistent, intense heat to the cookie edges while maintaining a soft center. If you don’t already own one, the classic Lodge cast iron skillet is a reliable, budget-friendly option that you can find here on Amazon: Lodge Cast Iron Skillet. For comfort and handling when removing the skillet from the oven, a silicone spatula and heatproof mitts are handy — consider these picks: OXO Silicone Spatula and silicone oven mitts.

If you’re exploring cookware upgrades for other tasks in your kitchen, you might find our guides helpful — whether you’re comparing premium options in the HexClad vs All-Clad: Which Premium Cookware Is Worth the Investment? piece or prioritizing safe surfaces in our Best Non-Toxic Cookware guide.

At-a-glance

  • Prep time: ~15 minutes (plus optional chilling)
  • Cook time: ~16–18 minutes
  • Yield: 8 warm slices from a 10–12″ skillet

Serving suggestions

Serve warm straight from the skillet with vanilla ice cream, a dusting of powdered sugar, or a sprinkle of flaky sea salt. For a grown-up twist, top each slice with a drizzle of salted caramel or a spoonful of mascarpone.

Tips and variations

  • Chill the dough for 20–30 minutes if your kitchen is warm; it helps control spread and deepens flavor.
  • Swap half the chocolate chips for chopped toasted nuts (pecans or walnuts) for texture contrast.
  • Try brown butter for a nutty, caramel flavor — brown the butter, let it cool slightly, then use it in place of melted butter.
  • For a gluten-free version, substitute a 1:1 gluten-free all-purpose flour blend and let the batter rest for 10 minutes before baking.

Whether you’re baking for a group or craving a decadent weeknight dessert, this skillet cookie is an easy, impressive way to deliver maximum comfort. The cast iron elevates a handful of pantry staples into a dessert that’s both rustic and restaurant-worthy.

Note: This article contains affiliate links. If you purchase through these links we may earn a small commission at no extra cost to you.
Instructions

1

Prep and preheat

Position a rack in the middle of the oven and preheat to 375°F (190°C). If using a 10- or 12-inch cast iron skillet, place it in the oven while it preheats so it becomes nicely warmed for the dough.

💡 Pro tip: A preheated skillet helps create crispier edges.
2

Mix wet ingredients

In a large mixing bowl, whisk together the melted butter, brown sugar, and granulated sugar until smooth. Add the eggs one at a time, whisking until combined, then stir in the vanilla.

💡 Pro tip: Let the melted butter cool slightly so it doesn't cook the eggs when combined.
3

Combine dry ingredients

In a separate bowl, whisk the all-purpose flour, baking soda, and salt until evenly distributed. Gradually fold the dry mixture into the wet ingredients until you have a cohesive dough—don’t overmix.

💡 Pro tip: Stop mixing as soon as the flour streaks disappear to avoid a tough cookie.
4

Add chocolate chips

Fold in 1 3/4 cups of the chocolate chips, reserving the rest to press into the top of the dough before baking.

💡 Pro tip: Use a mix of chip sizes for a rustic look and variable melty pockets.
5

Shape in the skillet

Remove the preheated skillet from the oven using mitts and lightly grease it with a little butter or oil. Press the cookie dough into the skillet in an even layer using a spatula or your hands. Sprinkle the remaining chocolate chips on top and gently press them into the dough.

💡 Pro tip: If the skillet is extremely hot, let it cool a minute so the dough doesn't spread too fast.
6

Bake

Place the skillet on a baking sheet (for easier handling) and bake in the preheated oven for 16–18 minutes, until the edges are golden brown and the center is set but still soft. For a gooier center, check at 14 minutes.

💡 Pro tip: The cookie will continue to set as it cools; aim for a center that jiggles slightly for a fudgy texture.
7

Finish and serve

Remove the skillet from the oven and, while still warm, sprinkle with flaky sea salt if desired. Let the cookie rest for 5–10 minutes before slicing into wedges. Serve warm with ice cream or whipped cream.

💡 Pro tip: Allowing a short rest helps the slices hold together when serving.
8

Cool and clean

Once fully cooled, transfer any leftovers to a storage container (or cover the skillet tightly). To clean the skillet, wipe out crumbs with a paper towel, rinse with warm water if needed, and dry thoroughly; re-season lightly if necessary.

💡 Pro tip: Avoid soap on well-seasoned cast iron; use coarse salt and a cloth for stubborn spots.

More to Cook

You Might Also Like

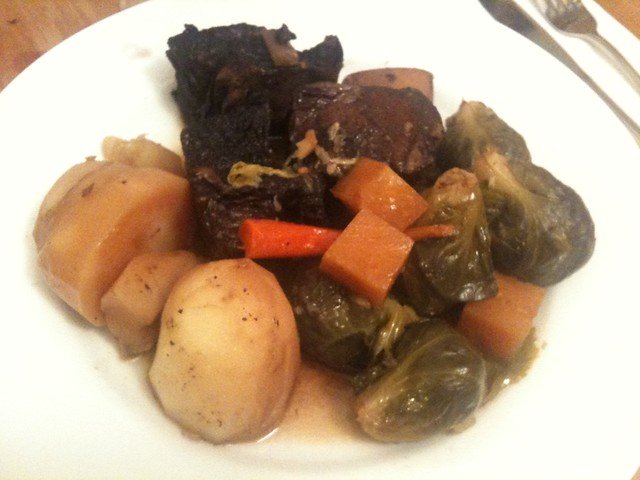
Dutch Oven Braised Short Ribs

Fall-off-the-bone Dutch oven braised short ribs, richly flavored with red wine, aromatics, and a glossy reduced braising sauce—perfect for weeknight luxury or special occasions.

View Recipe →

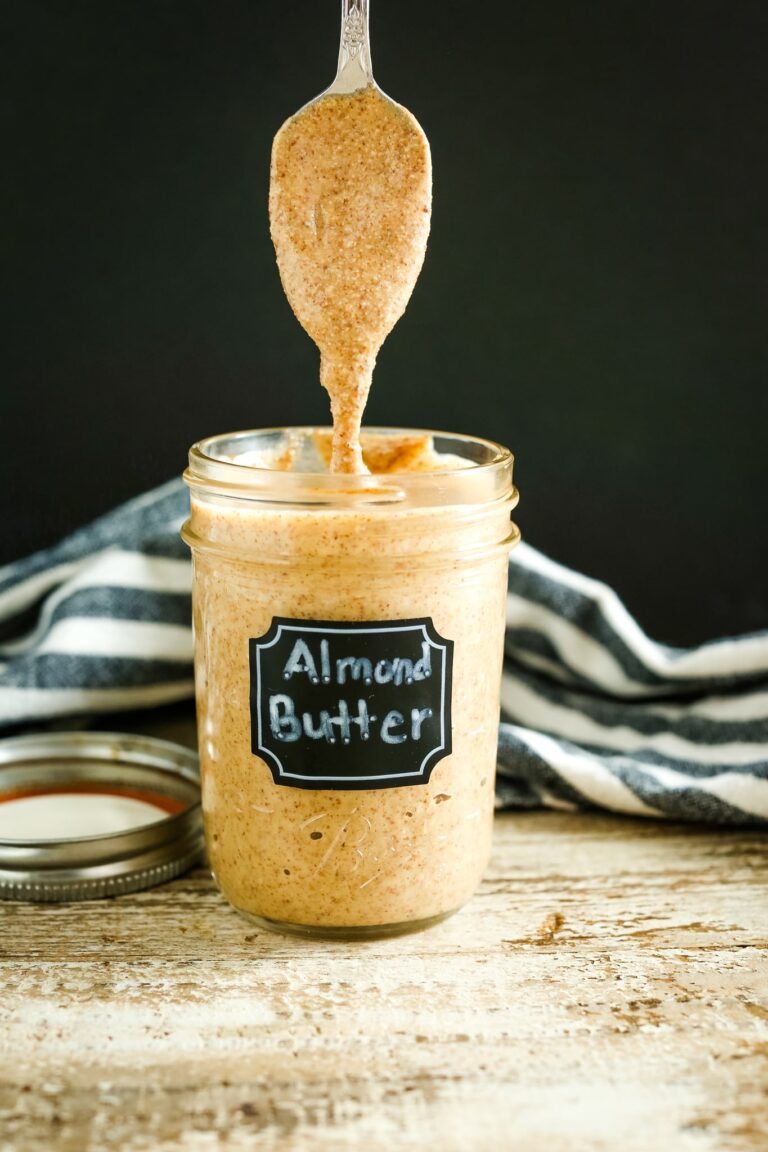
Homemade Almond Butter

Fresher and better than store-bought, homemade almond butter requires just roasted almonds and a powerful blender. A perfect test of your blender's capabilities.

View Recipe →

Stay in the loop

Get the Best Kitchen Picks Delivered

New buying guides, honest reviews, and kitchen-tested recipes — straight to your inbox. No spam, ever.