Perfect Banana Bread in a Loaf Pan
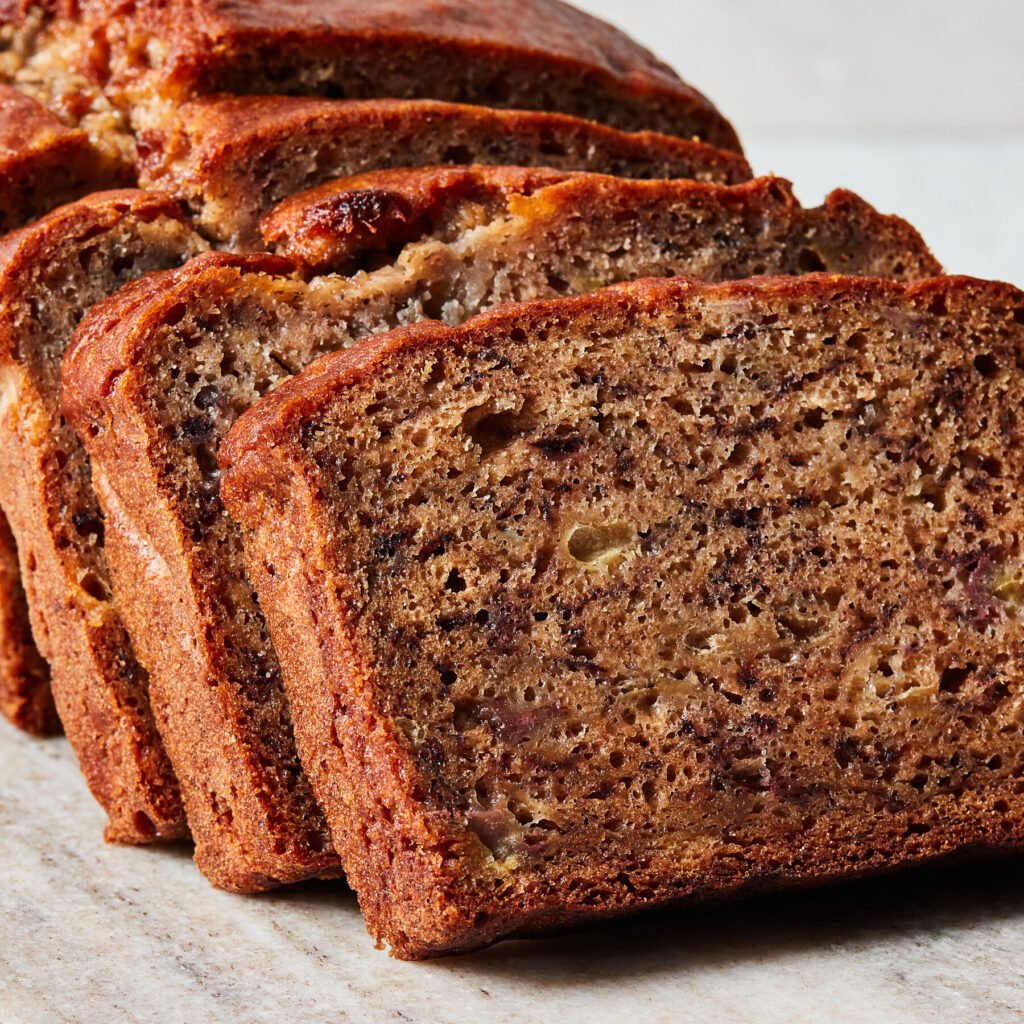
There’s something timeless about a warm slice of banana bread straight from the oven: fragrant, slightly caramelized edges, and a tender, moist crumb. This recipe focuses on balance — just enough sugar to enhance the bananas’ natural sweetness, a touch of fat for tenderness, and a straightforward mixing method that avoids overworking the batter. Using a stand mixer (or a sturdy whisk) speeds the process and helps you get an evenly mixed, fluffy loaf.
What makes this banana bread special is its forgiving nature. Ripe bananas, a splash of vanilla, and the right oven temperature produce a loaf that’s golden on the outside and soft inside. Whether you make it in a classic 9×5 loaf pan for sandwiches or to slice for breakfast, this formula is designed for consistent results every time.
Choosing the Right Equipment
The right tools make baking easier and more predictable. For this recipe, a reliable oven and a well-fitting 9×5 loaf pan matter most. A stand mixer streamlines creaming and ensures even incorporation of wet ingredients, but you can mix by hand if you prefer.
If you’re shopping for equipment, consider a heavy-gauge 9×5 loaf pan for even browning and easy release — here’s a popular option: 9×5 loaf pan on Amazon. For mixing, a quality stand mixer can be a game changer for frequent bakers: KitchenAid stand mixer on Amazon. A flexible silicone spatula helps you scrape every last bit of batter into the pan: silicone spatula on Amazon.
If you’re new to baking or upgrading your kit, our buying guides can help you choose. Browse our recommendations for beginner-friendly bakeware in Best Baking Sets for Beginners, or compare major mixer brands with the KitchenAid vs Cuisinart Stand Mixers guide.
Why This Method Works
This recipe relies on gentle mixing and ripe bananas to create moisture and flavor without overdeveloping gluten. The sequence — combine dry ingredients separately, cream fat and sugar, incorporate eggs and bananas, then fold the dry mix in — minimizes overmixing and produces a tender crumb. A moderate oven temperature lets the loaf rise steadily while developing a nicely colored crust.
Using a stand mixer keeps the batter light and evenly mixed, but the process is equally forgiving when done with a bowl and whisk. The final resting and cooling period are important: allowing the loaf to cool slightly in the pan and then on a rack ensures clean slices and set crumb.
What to Expect
You’ll get a loaf with a golden-brown crust, pockets of banana flavor, and optional nutty crunch if you add walnuts or pecans. It keeps well for several days and makes a great breakfast, snack, or portable lunchbox treat. Slight variations — stirring in chocolate chips, swapping half the flour for whole wheat, or adding spices like cinnamon and nutmeg — let you tailor the loaf to your taste.
Tips and Variations
- Use very ripe bananas (lots of brown spots) for the best flavor and natural sweetness; you can freeze overripe bananas and thaw before mashing.
- Lightly grease and line your loaf pan with parchment paper for clean removal and easy slicing.
- Add mix-ins like 1/2 cup chopped walnuts, 3/4 cup chocolate chips, or 1/3 cup shredded coconut. Fold them in gently at the end to avoid sinking.
- For a slightly healthier loaf, swap 1/4 cup of the all-purpose flour for whole wheat, and replace half the butter with Greek yogurt or applesauce; expect a denser crumb.
Final Thoughts
Perfect banana bread is more about technique than complicated ingredients. With a good loaf pan, a reliable oven, and the mixing method described here, you’ll consistently produce a moist aesthetically pleasing loaf. For regular bakers, investing in a quality stand mixer and a few durable pans from a beginner bakeware set makes baking faster and more enjoyable. See our recommended sets in the Best Baking Sets for Beginners guide.
Ready to bake? Scroll down for the printable ingredients and step-by-step instructions.