Homemade Cashew Cream
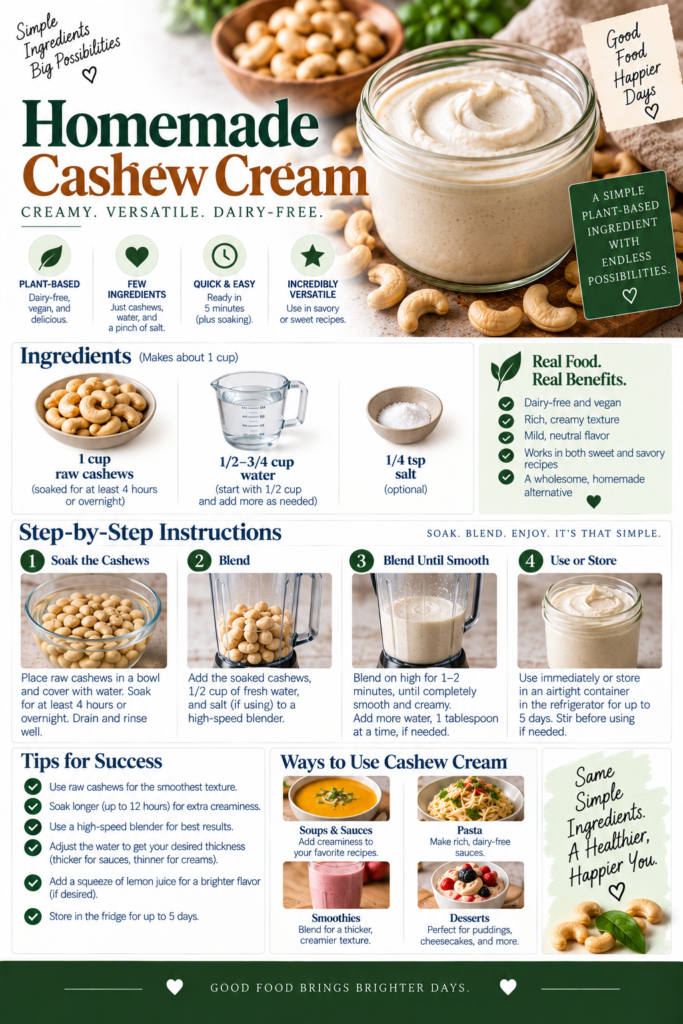
Cashew cream is one of those pantry staples that transforms simple dishes into something luxurious. Made from just cashews and water (plus a little seasoning), it becomes a neutral, silky base that can stand in for heavy cream in sauces, soups, and desserts. Because cashews are naturally creamy when broken down, you get a rich mouthfeel without dairy, and the flavor is mild enough to adapt to sweet or savory preparations.
What makes this recipe special is its flexibility: adjust the water ratio for anything from a thick spread to a pourable sauce, and add small amounts of lemon, garlic, or nutritional yeast depending on the use. The technique is fast and forgiving — most of the time is passive soaking — and a good blender turns soaked cashews into a perfectly smooth cream in under a minute.
Why this method works
Raw cashews have a high fat content and a soft texture once hydrated, which allows them to emulsify easily when blended. Soaking softens the nuts and ensures a consistently smooth result without overworking your blender. Using a high-speed blender or a powerful countertop model results in a silkier emulsion; lower-powered units may need a bit more liquid and patience but can still produce excellent results.
Choosing the right equipment
Although you can make cashew cream with a food processor or an immersion blender, a countertop blender gives the creamiest, most consistent texture. High-speed blenders crush the soaked nuts more thoroughly and reduce graininess. If you’re shopping for a new blender, check our Best Blenders for Smoothies guide to compare models and performance. If you’re torn between brands, our Vitamix vs Ninja comparison can help you decide which fit your cooking style and budget.
Two popular options that work exceptionally well for cashew cream: a reliable Vitamix-style high-speed blender (search: Vitamix 5200) or a powerful Ninja blender (search: Ninja BL610). If you prefer a smaller investment and frequent batch-making, a mid-range high-speed blender still gives great results. For finishing touches and straining (when you want an ultra-silky finish), a fine mesh strainer is handy: Fine Mesh Strainer.
Overview: What you’ll get
This recipe yields a creamy, neutral-flavored cashew cream that can be used as a 1:1 substitute for heavy cream in many recipes, as a base for vegan alfredo or creamy soups, as a dip for crudités, or sweetened and thickened for dessert applications. Expect a silky texture that clings to pasta and soups or spreads smoothly on bread when thicker.
How to adapt texture and flavor
Texture is controlled by the ratio of water to cashews: less water for a thick, spoonable cream; more for pourable sauces and dressings. Flavorings are simple — a squeeze of lemon brightens, crushed garlic makes a great savory base, and a little maple syrup caramelizes the flavor for desserts. If you want a cooked, lightly caramelized flavor for soups or sauces, blend and then briefly heat the cream in a pan to integrate it with other ingredients.
Serving suggestions
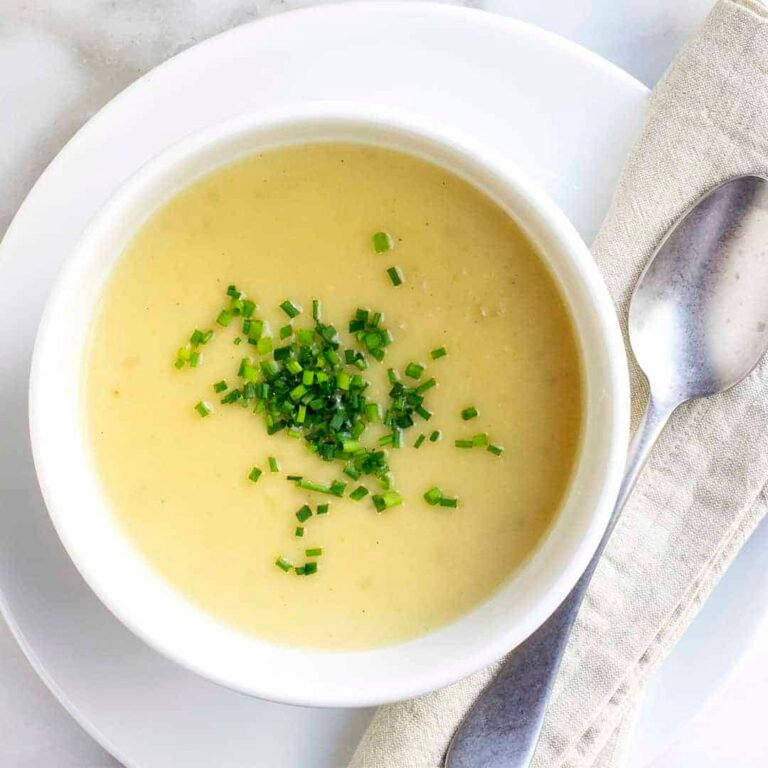
Use cashew cream as a base for vegan alfredo, swirl it into roasted vegetable soups, fold it into mashed potatoes for extra silkiness, or sweeten and refrigerate for a vegan dessert topping. Because it’s neutral, it takes on the dominant flavors you build around it.
Tips and Variations
- If you need ultra-smooth cream for a delicate sauce, strain the blended mixture through a fine mesh strainer and press with the back of a spoon to remove any tiny bits.
- For a garlicky savory version: add 1 small clove of garlic and 1 tablespoon nutritional yeast while blending. Adjust salt to taste.
- For a dessert-style cream: add 1-2 tablespoons maple syrup and 1/2 teaspoon vanilla extract. Chill before serving to thicken slightly.
- If short on time, use boiled cashews: simmer raw cashews for 15 minutes, drain, then blend (they’ll be soft enough without long soaking).
Final notes
Cashew cream is a deceptively simple way to elevate everyday dishes while keeping ingredients straightforward. A good blender saves time and improves texture, so if you make a lot of smoothies, nut milks, or creamy sauces, investing in a quality model will pay dividends. Read our Best Blenders for Smoothies guide to find models that balance power and price, and if you want a direct brand comparison, see Vitamix vs Ninja to weigh features and warranties.
Below you’ll find the easy ingredient list and a step-by-step guide to making basic cashew cream, plus nutrition estimates and storage advice so you can make it ahead and use it across the week.