Homemade Peanut Butter (Blender Method)
Fresh homemade peanut butter is a revelation: it tastes brighter, creamier, and more vibrant than anything from a jar. Making it at home lets you control texture, salt, oil, and sweetness while skipping unwanted stabilizers and added preservatives. With just roasted peanuts and a good blender you’ll have spreadable peanut butter in about 10 minutes of hands-on time.
This recipe is forgiving and customizable. Use it to make ultra-smooth sandwich spreads, chunkier varieties with peanut pieces, or sweetened versions with honey or maple. The key is starting with good-quality roasted peanuts and a powerful blender that can handle the grind without overheating.
Why this recipe works
Peanuts are naturally oily; when ground the oils release and the mixture becomes paste-like. A high-speed blender builds enough friction to release those oils quickly and evenly, so you get creamy peanut butter without adding much (or any) extra oil. Pulsing early, scraping the sides, and using short bursts prevents overheating and gives control over texture, from crunchy to ultra-smooth.
Choosing the right equipment
For homemade nut butters the most important tool is your blender. A high-powered machine with a sturdy jar and strong blade will make the job fast and smooth. If you don’t already own one, consider a reliable model like the Vitamix 5200 blender or a more budget-friendly option such as the Ninja Professional Blender—both are popular for grinding nuts into smooth butter. You’ll also appreciate a good silicone spatula (search silicone spatula) for scraping the jar and transferring the butter.
If you’re comparing models, our buying guides can help. For general blender picks check out our Best Blenders for Smoothies guide, or if you’re weighing two big brands see our comparison Vitamix vs Ninja: Which Blender Brand Should You Buy? to pick the right machine based on power, capacity, and budget.
Technique and troubleshooting
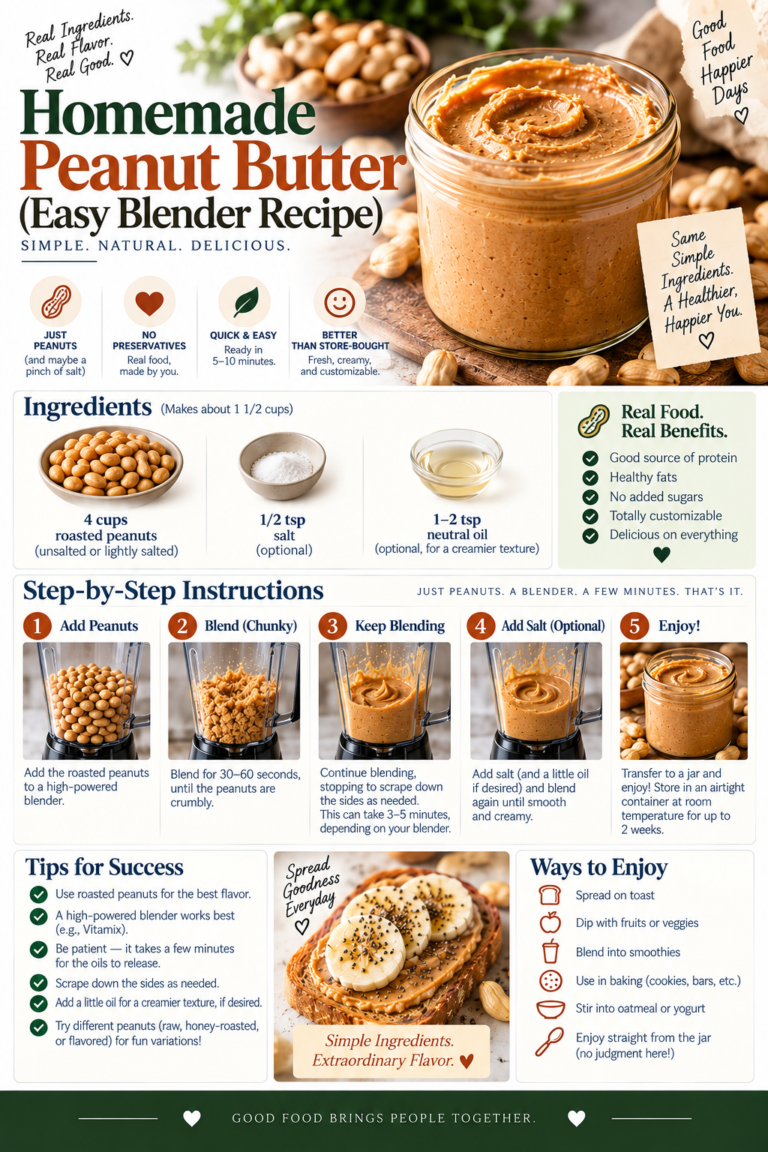
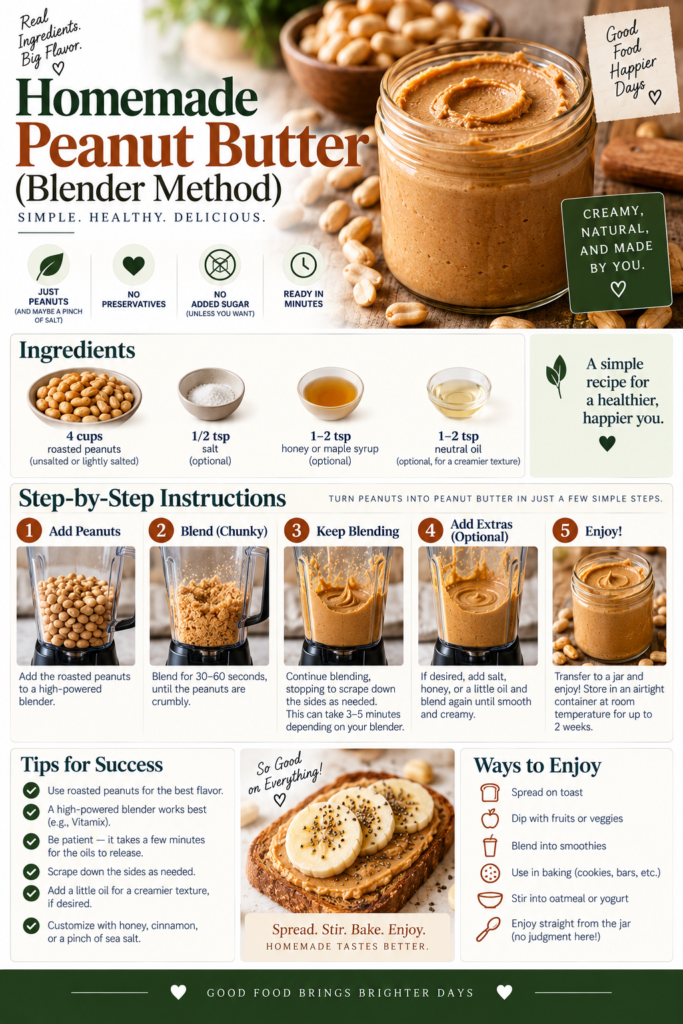
Start with roasted peanuts—either store-bought roasted/salted, roasted/unsalted, or roast raw peanuts at 350°F for 8–12 minutes until fragrant. If you prefer a lower-fat version, you can reduce added oil, but keep in mind peanuts will need a little help for extra-smooth finishes.
Use short pulses to break the peanuts down at first; this prevents the motor from bogging down. Once the mixture starts to look like coarse crumbs, blend in 20–30 second bursts, scraping the sides between bursts. If the blender struggles or gets very hot, pause and let it rest 1–2 minutes. Adding a teaspoon of neutral oil (peanut, canola, or light olive oil) when the mixture is still crumbly speeds emulsification and yields a silkier texture.
Tips and variations
- Adjust texture: For crunchy peanut butter, set aside 1/3 cup of peanuts, roughly chop them, and stir in at the end. For extra-smooth butter, blend longer and add 1–2 teaspoons of oil.
- Sweeten or flavor: Stir in 1–2 tablespoons honey, maple syrup, or 1/2 teaspoon vanilla after blending to taste. For a salty accent, add kosher salt a pinch at a time until you reach your preferred level.
- Prevent overheating: Use short pulses and let the blender rest if it becomes very warm. Overheating can affect texture and flavor.
- Make mixed nut butter: Swap half the peanuts for roasted almonds or cashews for a richer, more complex nut butter.
Why you’ll love making it at home
Homemade peanut butter is fresher and customizable—no hydrogenated oils, no preservatives, no mystery additives. You decide how salty, sweet, or textured it should be. It’s also a cost-effective way to enjoy premium nut butter if you buy peanuts in bulk or when they’re on sale.
Whether you spread it on toast, swirl it into oatmeal, or use it in sauces and baked goods, homemade peanut butter stands out for its aroma and flavor. Pair your peanut butter with jam for a classic sandwich, or add a spoonful to smoothies for creamy protein and richness.
Safety notes
Store nut butters in clean, airtight containers and refrigerate if you added fresh ingredients (like fresh fruit or dairy). Always cool roasted peanuts before blending and make sure your blender jar is assembled correctly to avoid leaks. If you have nut allergies in the household, label jars clearly and store separately.
Ready to get started? Scroll to the recipe card for ingredient amounts and step-by-step instructions.