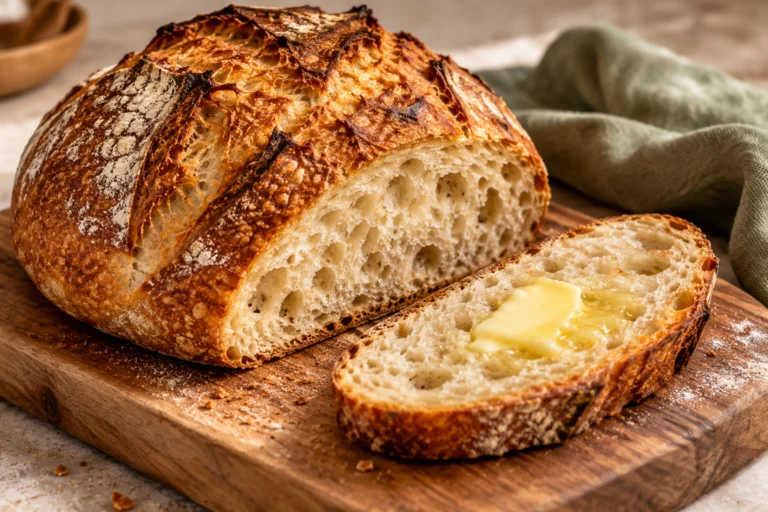
Dutch Oven Sourdough Boule
Baking & Desserts
Build, shape, and bake a sourdough boule in a Dutch oven for a crisp crust and open crumb.
View recipe →
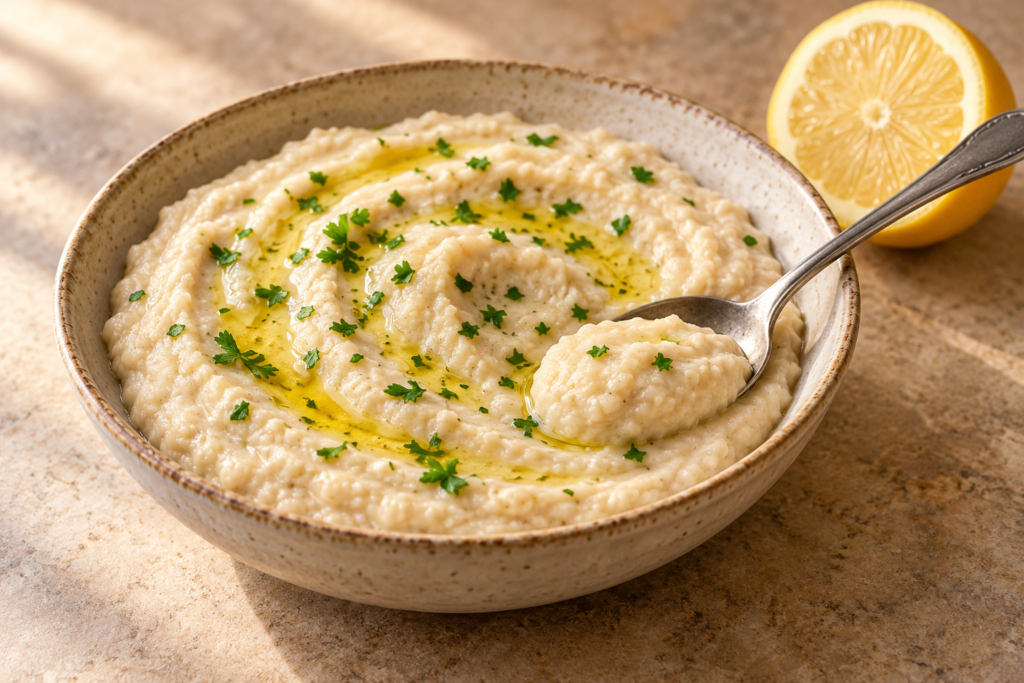
Canned white beans, lemon, garlic and olive oil make a savory dip for vegetables, toast or crackers. Researched, untested recipe; quantities, timing and yield are estimates. AI-generated illustration, not a photograph of a tested batch.
Estimated 15 minutes prep and active blending; 0 minutes cooking and required waiting. Optional 30-minute refrigerator chill makes approximately 45 minutes total. Approximately 4 snack portions; yield approximately 1½ cups, dependent on added water. Researched, untested recipe.
This page may contain affiliate links. We may earn a commission from qualifying purchases at no additional cost to you. As an Amazon Associate, we earn from qualifying purchases. Read our affiliate disclosure.
Check off ingredients as you go.
Wash your hands and clean your equipment. Rinse the lemon and any parsley under running water. Drain and rinse the canned beans, then weigh approximately 240 g. Measure the remaining ingredients. The get ready to cook lesson offers a simple setup routine.
Follow your manual's order for the selected vessel, adding the beans, 2 tablespoons oil, 1 tablespoon lemon juice, garlic, 2 tablespoons water, salt and pepper. Keep within its fill limits and secure the lid or blade assembly as instructed.
Use the manufacturer's recommended setting for dips. Stop the motor, wait for the blades to stop and unplug before opening and scraping with a spatula. Never insert a spatula while the blender is running. Use a tamper only if supplied or approved for that exact vessel and only as its manual directs.
If the mixture circulates but is too thick, add water 1 tablespoon at a time, up to the remaining 4 tablespoons, and blend again within the manual's run-time limits. Aim for a cohesive, spoonable dip with no whole beans or large garlic pieces. A little bean-skin texture may remain. If the mixture still will not circulate, stop rather than overworking the motor or adding unlimited liquid; the batch may be too small for the vessel.
Taste with a clean spoon. Add the reserved lemon juice a teaspoon at a time only if needed. Adjust salt in small pinches. See season and taste for changing one seasoning at a time. Scrape into a serving bowl. Add the optional measured oil and parsley garnish.
Serve with vegetables, crackers or toast, or cover and refrigerate for the optional 30-minute chill. If it thickens when chilled, stir in a teaspoon of water at a time before serving. Chilled texture and garlic strength have not been tested.
Equipment: Blender buying guide
NUTRITION & YOUR NEXT MEAL
Choose a recipe version below. Estimates are per recipe serving; optional ingredients, brands and preparation can change the result.
Estimated nutrition per serving · 1/4 of the defined batch
Cooked-white-bean preview adaptation, not the original canned-bean nutrition. One serving is 1/4 of the batch; bread, crackers, vegetables and garnish are not included.
Calculated using USDA FoodData Central reference foods. Not laboratory analysis or kitchen-tested nutrition. About the reference data.
Canned white beans, lemon, garlic and olive oil make a savory dip for vegetables, toast or crackers. Add the water gradually so you can aim for a spoonable dip rather than a pourable sauce.
Recipe development note: This is a researched, untested recipe. The quantities, timing and yield are estimates; results will depend on the beans and blender.
The get ready to cook lesson offers a simple setup routine. See season and taste for changing one seasoning at a time.
A large pitcher may not circulate this small batch. Check its manual for permitted ingredients, minimum quantities and loading order before starting. Do not assume a personal cup accepts thick mixtures or that its nominal capacity is its usable fill. Our blender guide explains container choices, but does not validate this recipe in a particular model. If your vessel is not suitable for a small, thick batch, choose a recipe and batch size approved for it rather than forcing this one.
Drained weights vary by brand. Use approximately 240 g drained beans for the quantities listed; reserve any extra beans for another use. If you have substantially less, scale the remaining ingredients by drained bean weight divided by 240 g, then recheck your vessel’s minimum batch. Yield and texture remain estimates.
Cannellini beans are the starting point. Other cooked white beans may change the texture and amount of water needed; chickpeas are not a tested one-for-one substitution. Do not use uncooked dried beans in this no-cook method. Omitting garlic changes the flavor but does not require replacing it with another ingredient. A food processor is a possible separate variation, not a validated equivalent method.
This formulation contains no nuts or dairy, but it is not an “allergen-free” claim. Check every package and your serving accompaniments for your needs. No nutrition panel is included.
Transfer unused dip promptly to a shallow covered container and refrigerate at 40°F / 4°C or below. Do not leave it out for more than 2 hours total, or 1 hour above 90°F / 32°C; discard it if those limits are exceeded. Lemon juice is a flavoring here, not a preservation step. Follow FoodSafety.gov’s refrigeration guidance.
Use refrigerated dip within 3 to 4 days of preparation, provided it has been handled and refrigerated as above; discard it after that. This applies USDA’s general leftover window, also stated in CDC leftover guidance, not a recipe-specific shelf-life test. Freezing texture and quality have not been evaluated.
AI-generated illustration of the intended dip; not a photograph of a tested batch.
Baking & Desserts
Build, shape, and bake a sourdough boule in a Dutch oven for a crisp crust and open crumb.

Breakfast & Brunch
Bake a cast iron frittata with vegetables and cheese for brunch or a simple meal.
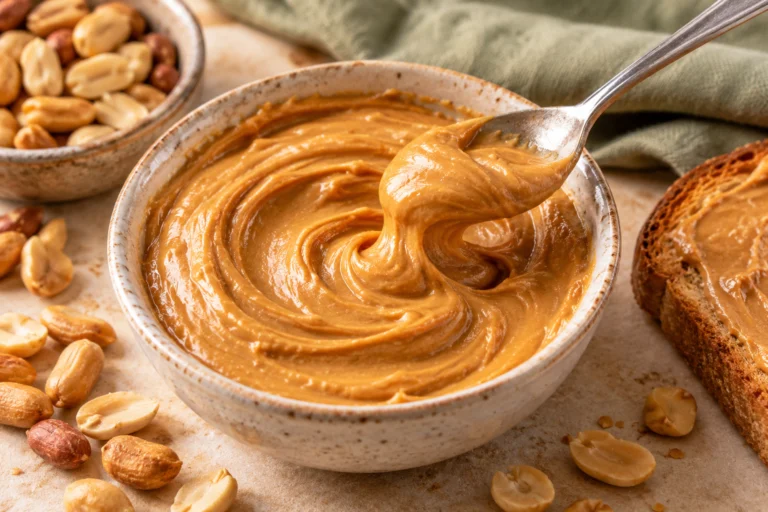
Kitchen Basics & Spreads
Blend roasted peanuts into homemade peanut butter, with optional salt and a smooth or chunky finish.