Classic New York Cheesecake
There’s a reason New York–style cheesecake is a classic: it’s rich, dense, and luxuriously creamy with a subtle tang from cream cheese and sour cream. This recipe focuses on technique — room-temperature ingredients, gentle mixing, and a water bath — to achieve the signature velvety texture without curdling or cracking. Whether you’re making it for a celebration or a cozy weekend treat, the method below will give you a reliably impressive cake.
What makes this cheesecake special is the balance between a sturdy, buttery graham cracker crust and an ultra-smooth filling that holds its shape yet melts on the tongue. The sugar and cornstarch stabilize the filling, while a slow, even bake and gradual cooling prevent the top from pulling and cracking. Chill time is part of the magic: patience overnight gives the flavors time to settle and the texture to firm up.
Why this recipe works
This version uses full-fat cream cheese and a small amount of cornstarch to provide the dense mouthfeel characteristic of New York–style cheesecake while helping the cake hold together when sliced. Sour cream and heavy cream contribute tang and silkiness without thinning the batter. A gentle mixing approach — brief on high speed and finished by hand if needed — keeps excess air out of the batter so the cake bakes evenly and minimizes cracking.
Choosing the right equipment
Good equipment makes a difference with cheesecakes. A 9-inch springform pan gives you clean release and tall sides for that classic profile; wrap the outside in foil if you plan to bake in a water bath. A reliable mixer — either a stand mixer or an electric hand mixer — helps you beat the cream cheese smooth without overworking it. If you don’t own a stand mixer, a quality hand mixer will also do the job; see our guide to choose one that suits home baking: Best Hand Mixers for Baking.
For water-bath baking, place the wrapped springform pan on a rimmed baking sheet to catch any drips and make it easy to transfer to and from the oven. If you’re considering upgrades, a heavy-duty 9-inch springform pan and a powerful stand mixer will be used so often they’re worth investing in: springform pan (https://www.amazon.com/s?k=9-inch+springform+pan&tag=lesson0f-20) and stand mixer (https://www.amazon.com/s?k=stand+mixer&tag=lesson0f-20) are great starting points.
Brief technique overview
Work with room-temperature dairy: cold cream cheese yields lumps, and overly warm ingredients can create a runny batter. Use low to medium mixer speeds to combine ingredients and stop as soon as the batter is smooth. Bake the cheesecake in a moderate oven with a water bath to provide moist heat and even temperature; this prevents the outer edges from setting too quickly while the center remains underdone. After baking, allow the cake to cool slowly in the oven (with the door cracked) to minimize temperature shock and cracking, then chill for at least 8 hours, preferably overnight.
Serving and garnishes
Classic New York cheesecake is stunning on its own or topped with a simple sour cream layer, warmed fruit compote, or fresh berries. A thin lemon zest adds brightness if you want a hint of citrus. Use a hot, dry knife between slices for the cleanest presentation: warm the blade under hot water, dry it, slice, and repeat between cuts.
Related buying guides
If you bake often, check our guide to baking essentials like rimmed pans and sheets — a sturdy rimmed baking sheet is handy when using a water bath: Best Baking Sheets for Home Bakers. And for mixing tools, the hand mixer guide linked above will help you pick the right power and features for cheesecake batter and other desserts.
Tips and variations
1. Use full-fat cream cheese for the proper texture; low-fat versions change both flavor and structure.
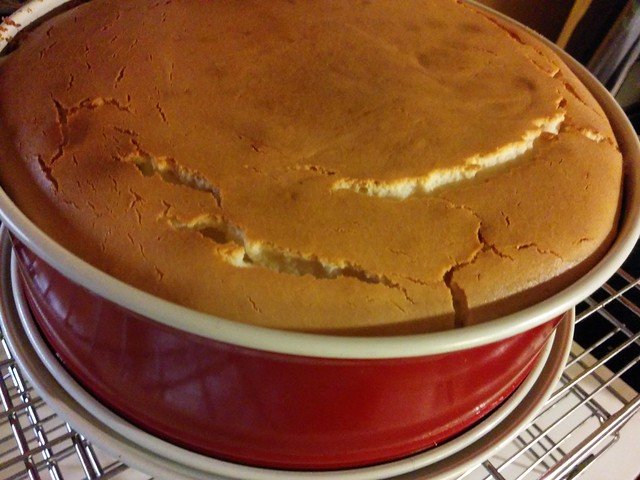
2. Prevent cracks by not overbaking: the center should still have a slight wobble when you take it out of the oven.
3. For a New York twist, add 1–2 teaspoons of finely grated lemon zest to the filling for brightness, or fold in 2 tablespoons of sour cream extra for a silkier finish.
4. Make ahead: cheesecake improves with time — bake a day in advance and chill overnight for clean slices and better flavor.
Final notes
This recipe is forgiving if you follow the core principles: room temperature ingredients, minimal aeration, a gentle bake, and long chilling. With the right pan and mixing tool, you’ll be rewarded with a classic New York cheesecake that slices beautifully and tastes like it came from an upscale bakery.