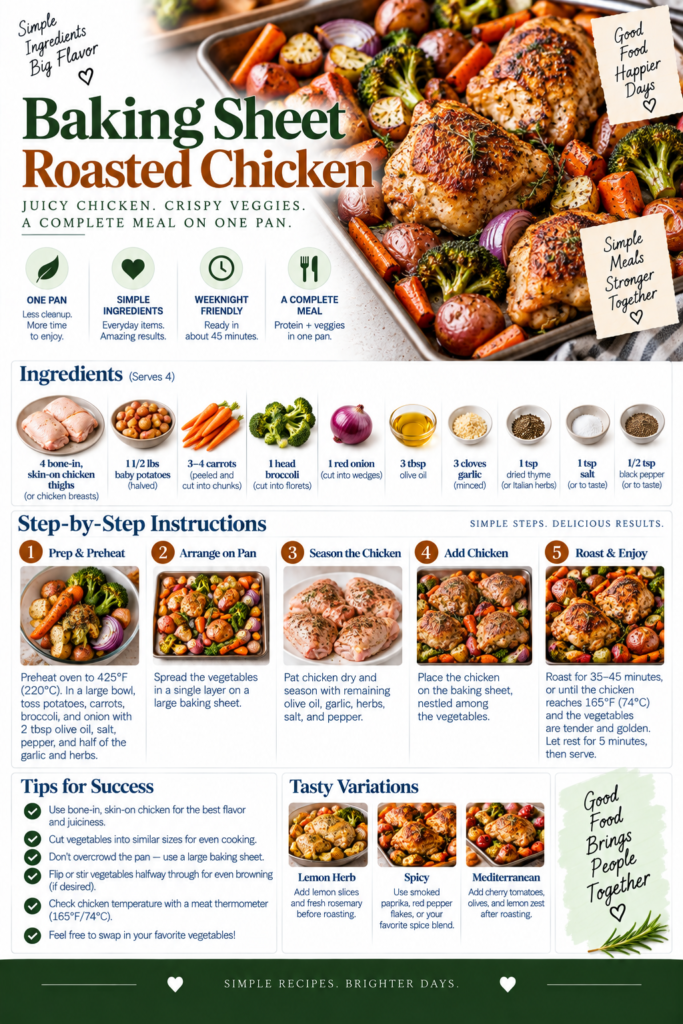
Baking Sheet Sheet Pan Roasted Chicken

A foolproof sheet pan roasted chicken that delivers crispy skin, juicy meat, and easy cleanup — perfect weeknight or weekend dinner. Uses a rimmed baking sheet for even roasting and requires minimal hands-on time.

20 min Prep Time
75 min Cook Time
95 min Total Time
4 Servings
Easy Difficulty

Ingredients

Servings:
4
Nutrition (per serving)
Calories 480 kcal
Protein 44g
Fat 30g
Carbohydrates 8g
Fiber 2g
💾 Storage

Refrigerate leftover roasted chicken in an airtight container within two hours of cooking; store for up to 3-4 days. Freeze portions in freezer-safe containers or bags for up to 2-3 months. To reheat, thaw (if frozen) and warm in a 325°F oven until heated through, or gently reheat slices in a skillet with a splash of broth to preserve moisture.

🍳

Best Made With: Oven / Stand Mixer

Choose an oven with reliable temperature control and even heat circulation; for baking sheets, prefer heavy-gauge, non-warping pans that match your oven size.

See Our Top Oven / Stand Mixer Picks →

Baking Sheet Sheet Pan Roasted Chicken

Sheet pan roasted chicken is one of those dependable recipes that looks and tastes like effort, but is actually simple to execute. By roasting a whole chicken on a rimmed baking sheet (ideally on a wire rack), you get even air circulation for crisp skin and a tidy pan for easy cleanup. The technique works because dry heat and space around the bird allow fat to render and skin to brown while the meat stays juicy when you don’t overcook it.

What makes this particular recipe special is the balance between flavor and speed: a basic but bright herb-citrus seasoning penetrates the skin, while optional vegetables roast alongside the chicken to make a mostly one-pan meal. You don’t need a long ingredient list or complicated steps to produce a roast that’s both impressive and reliably delicious.

Why this method works

Roasting on a rimmed sheet pan with a cooling rack gives three advantages: airflow under the bird for even browning, a flat surface that fits easily into any home oven, and more surface area so the chicken’s exterior crisps up. Resting the chicken after roasting lets the juices redistribute so slices remain moist — skip the rest and you’ll lose liquid on the cutting board.

Choosing the right equipment

For this recipe, a sturdy rimmed baking sheet and a wire rack make the biggest difference. Look for a heavy-gauge, rimmed sheet that won’t warp at high temperatures; a medium-to-large size (around 13×18 inches) fits most ovens and gives room for vegetables. If you prefer to elevate the chicken directly in a roasting pan, a low-sided sheet works better for single-pan cleanup.

If you’re researching baking sheets or other bakeware before you invest, see our buying guide for more recommendations: Best Baking Sheets for Home Bakers. And if you’re equipping your kitchen more broadly, our guide to Best Hand Mixers for Baking may help with other preparations.

Flavor profile

This roast leans on classic citrus and herb notes: lemon and garlic brighten the rich chicken while rosemary and thyme add savory depth. You can easily swap in smoked paprika, oregano, or a spoonful of Dijon mustard for a different palette. Roasted root vegetables pick up pan juices and make a simple accompaniment.

What to serve with it

Serve slices of the chicken with roasted carrots and potatoes from the pan, a crisp green salad, or buttery mashed potatoes. Leftovers work beautifully in sandwiches, salads, or pulled-chicken tacos.

Tips and variations

Please note: the following tips are plain text suggestions to help you get great results.

1. Pat the chicken thoroughly dry before seasoning; moisture on the skin prevents crisping.

2. Use an instant-read thermometer and remove the chicken at 160°F (71°C), letting it rest to reach 165°F, which prevents overcooking.

3. Add vegetables with similar cook times (potatoes, carrots, whole onions) and cut them evenly so they roast uniformly.

4. Make a quick pan sauce by deglazing the sheet with a splash of white wine or chicken broth and a pat of butter; scrape up browned bits and pour over carved chicken.

For detailed, step-by-step guidance (ingredients, exact times, and nutritional estimates), see the recipe metadata below.

Happy roasting — this approach delivers a straightforward, weeknight-friendly roast chicken with restaurant-worthy results.
Instructions

1

Preheat and prep the pan

Preheat your oven to 425°F (220°C). Line a rimmed baking sheet with foil for easier cleanup, then place a wire cooling rack in the pan so the chicken will sit elevated. If you don’t have a rack, you can roast the chicken directly on the sheet, but turn it once midway for even browning.

💡 Pro tip: A metal rack allows hot air under the chicken for crispier skin.
2

Dry and season the chicken

Pat the chicken completely dry with paper towels. Rub the exterior with olive oil or softened butter, then season generously with salt, pepper, and smoked paprika if using. Stuff the cavity with smashed garlic cloves, lemon halves, and a sprig or two of herbs.

💡 Pro tip: Dry skin equals better browning; don’t skip patting the bird.
3

Tuck, truss (optional), and position

Tuck the wing tips under the chicken and, if you’d like, tie the legs together with kitchen twine to help the bird roast evenly. Position the chicken breast-side up on the rack placed in the sheet pan. Scatter vegetables around the bird in a single layer and toss them with a little oil, salt, and pepper.

💡 Pro tip: Trussing is optional but helps produce a compact, evenly cooked bird.
4

Roast in the oven

Place the sheet pan in the preheated oven. Roast for about 20 minutes per pound as a guideline; for a 3.5- to 4-lb bird, plan for roughly 65–90 minutes. Start checking doneness after about 60 minutes to avoid overcooking. Vegetables should be tender and caramelized.

💡 Pro tip: Rotate the pan halfway through if your oven has hot spots.
5

Check internal temperature

Insert an instant-read thermometer into the thickest part of the thigh without touching bone. Remove the chicken from the oven when the thermometer reads 160°F (71°C); residual heat will bring it to 165°F (74°C) while it rests. If using only color, look for clear juices and no pink near the bone.

💡 Pro tip: Using a thermometer prevents dry meat and gives consistent results.
6

Rest and carve

Transfer the chicken to a cutting board and tent loosely with foil for 10-15 minutes. This resting period lets the juices redistribute. Carve the bird into breasts, thighs, drumsticks, and wings and serve with the roasted vegetables. Spoon any pan juices over the carved chicken for extra flavor.

💡 Pro tip: Resting makes carving easier and keeps the meat moist.

More to Cook

You Might Also Like

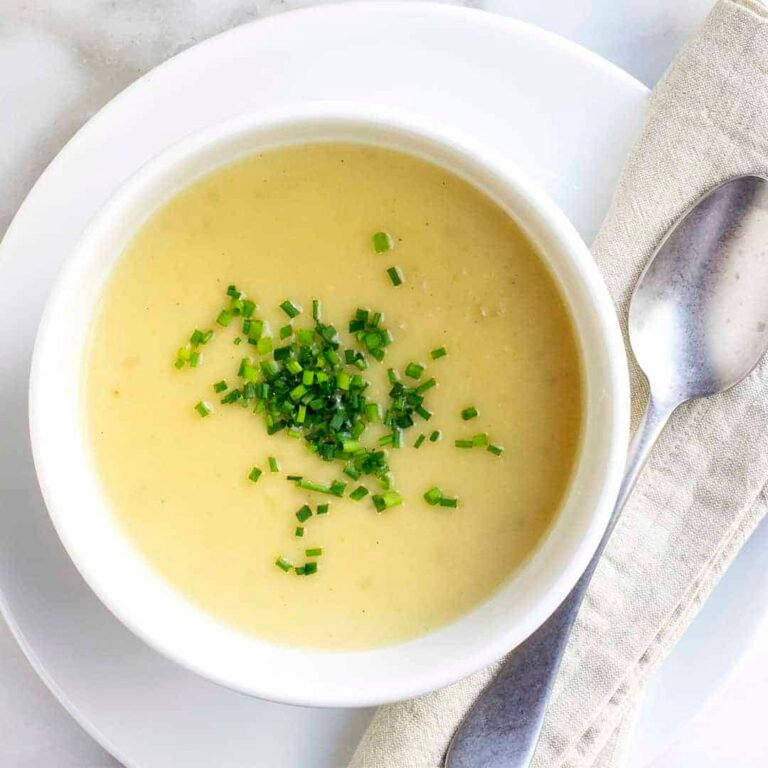
Creamy Potato Leek Soup

A velvety, comforting potato leek soup that's simple to make in a Dutch oven or slow cooker — perfect for cozy dinners and easy meal prep. This recipe yields a creamy, savory soup with minimal effort and big flavor.

View Recipe →

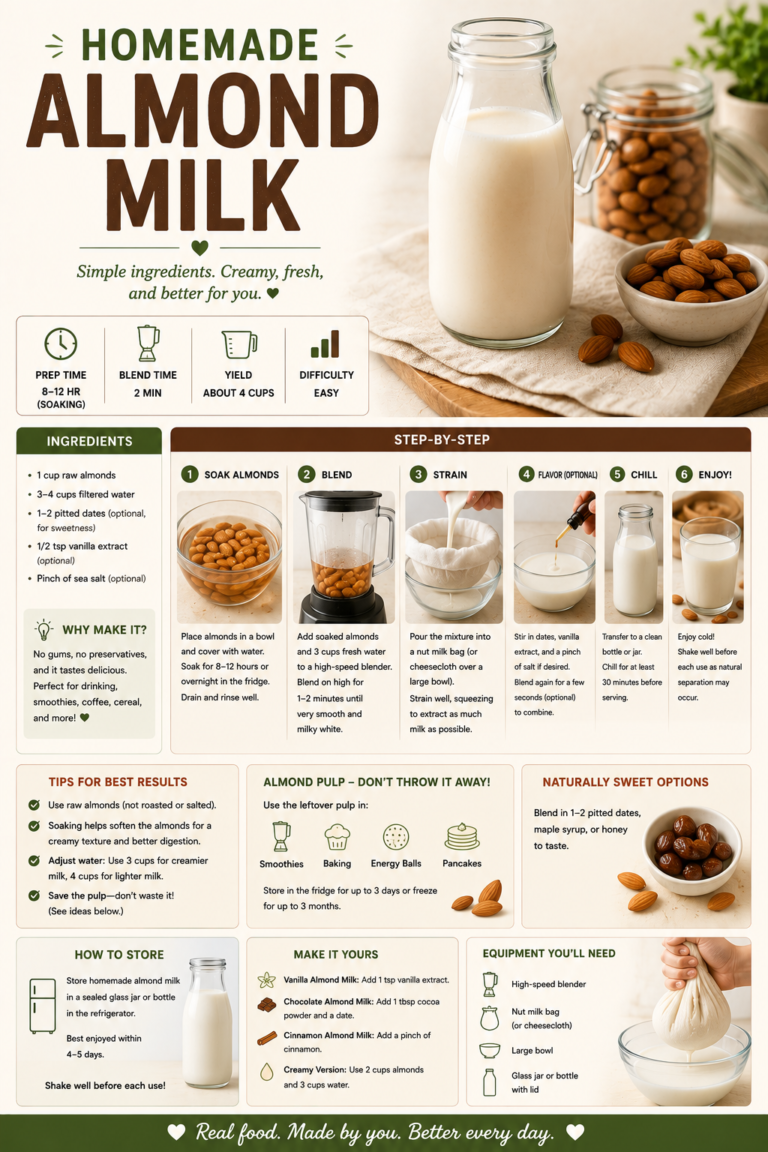
Homemade Almond Milk

Make smooth, creamy homemade almond milk with just almonds, water, and a blender. This easy recipe yields fresh, customizable dairy-free milk perfect for smoothies, coffee, and baking.

View Recipe →

Stay in the loop

Get the Best Kitchen Picks Delivered

New buying guides, honest reviews, and kitchen-tested recipes — straight to your inbox. No spam, ever.