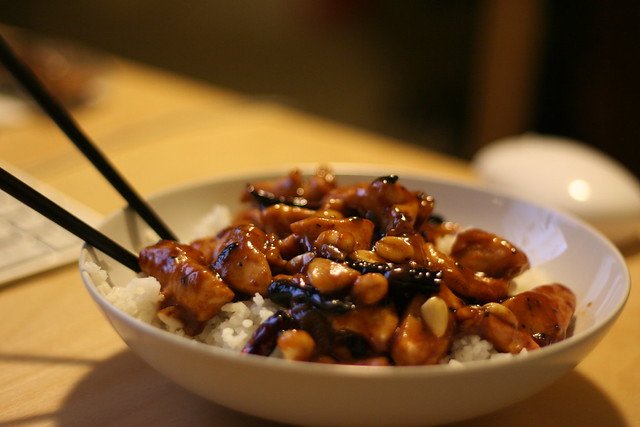
Kung Pao Chicken

A classic Sichuan stir-fry with tender chicken, crunchy peanuts, and a sweet-spicy-salty sauce — perfect weeknight comfort made in a stainless steel or nonstick pan. This recipe breaks down technique, equipment choices, and smart shortcuts so you can make authentic-tasting Kung Pao Chicken at home.

20 min Prep Time
12 min Cook Time
32 min Total Time
4 Servings
Medium Difficulty

Ingredients

Servings:
4
Nutrition (per serving)
Calories 420 kcal
Protein 30g
Fat 20g
Carbohydrates 24g
Fiber 3g
💾 Storage

Cool leftovers to room temperature, then store in an airtight container in the refrigerator for up to 3 days. Reheat gently in a skillet over medium-low heat with a splash of water or stock to loosen the sauce. For longer storage, freeze in a freezer-safe container for up to 2 months; thaw overnight in the refrigerator before reheating.

🍳

Best Made With: Stainless Steel or Nonstick Pan

Choose a heavy-bottomed stainless steel or a high-quality PFAS-free nonstick pan with a wide flat surface for even heat and easy stir-frying.

See Our Top Stainless Steel or Nonstick Pan Picks →

Kung Pao Chicken

Kung Pao Chicken is one of those dishes that tastes restaurant-refined yet is remarkably approachable at home. It balances savory soy, tangy rice vinegar, a hint of sweetness, and a numbing-spicy kick from Sichuan peppercorns and dried chiles. The key to its success is high-heat, quick cooking that seals in juices and keeps vegetables crisp — exactly the kind of dish a good stainless steel or nonstick pan can deliver.

What makes this version special is the focus on technique: a brief marinade with cornstarch to keep the chicken moist, a glossy sauce that clings to the meat, and a proper sear so you get those little caramelized edges everyone loves. You’ll also find options for swapping nut and heat levels, and clear tips for choosing the best pan and tools so your stir-fry comes out perfectly every time.

Why this recipe works

This Kung Pao Chicken is structured around three building blocks: flavor, texture, and heat control. The flavor comes from a balanced sauce of soy, vinegar, and sugar with an optional splash of Shaoxing wine; texture comes from a quick cornstarch marinade and a hot pan that creates a caramelized exterior while keeping the interior tender; heat control is handled by preheating and managing burner intensity — essential for stir-fries.

We also emphasize timing and mise en place: have sauce, aromatics, nuts, and aromatics ready before you heat the pan. The entire cooking stage takes only minutes, so preparation is half the battle. With a reliable pan and the right technique you’ll replicate that restaurant-worthy texture and flavor at home.

Choosing the right equipment

For Kung Pao Chicken you want a wide, heavy-bottomed stainless steel skillet or a high-quality nonstick pan so ingredients have room to move and heat evenly. A stainless steel pan gives superior browning and fond, while a PFAS-free nonstick pan makes cleanup a breeze and requires less oil. If you’re deciding between premium cookware lines, our HexClad vs All-Clad comparison is a helpful resource, and you can read about safer coatings in our Best Non-Toxic Cookware guide.

You don’t need a wok to make an excellent stir-fry: a 10–12 inch stainless steel skillet or nonstick saute pan works perfectly. If you want to shop quickly, here are a few useful items:

How to approach the stir-fry

Start by prepping everything: cube the chicken, mix the marinade and sauce, and measure aromatics. Stir-frying is fast, so once the pan is hot, steps happen in quick succession. Use high heat for searing the chicken and medium-high for finishing the sauce so it thickens but doesn’t burn.

If you’re using a stainless steel pan, preheat it thoroughly before adding oil to prevent sticking; if you choose a nonstick pan, keep the heat a little lower and avoid overheating the coating. For notes on nonstick safety and alternatives, see our PFAS-free cookware guide.

Serving suggestions

Serve Kung Pao Chicken immediately over steamed jasmine or brown rice. It also pairs well with simple sides like stir-fried bok choy, a cucumber salad, or scallion pancakes. Leftovers make a great lunch; reheat gently on the stovetop to preserve texture.

Tips and variations

  • Use boneless, skinless thighs for juicier results; breasts work if you prefer leaner meat. Cut pieces uniformly for even cooking.
  • Toast the peanuts separately to ensure crunch — add them at the end to preserve texture.
  • Adjust heat to taste: remove some or all of the seeds from dried chiles for milder heat, and increase Sichuan peppercorns for that characteristic numbing sensation.
  • Make it vegetarian by substituting firm tofu (pressed and lightly fried) and using vegetable stock in the sauce.

Why use cornstarch and why marinate briefly?

A quick cornstarch coating on the chicken creates a protective layer that locks in juices and helps the sauce cling to each bite. The marinade should be short — 15–30 minutes is enough — so the chicken firms slightly but doesn’t develop an off texture from prolonged exposure to acidic ingredients.

Common mistakes and how to avoid them

  • Overcrowding the pan: work in batches so pieces sear instead of steam.
  • Crowding with too many vegetables: add firm vegetables early and softer ones later to keep crispness contrasts.
  • Starting with a cold pan: always preheat to ensure a proper sear.

Final thoughts

Kung Pao Chicken is a satisfying blend of bold flavors and textures. With the right pan and a bit of attention to prep and heat management, you can make a dish that outshines takeout. Whether you prefer the searing power of a stainless steel skillet or the convenience of a nonstick pan, this recipe is flexible and forgiving once you understand the technique.

For deeper dives into cookware choices, check out our guides on HexClad vs All-Clad and Best Non-Toxic Cookware to help you pick a pan you’ll love for stir-fries and beyond.
Instructions

1

1. Marinate the chicken

Combine the cubed chicken with 1 tbsp soy sauce, 1 tsp Shaoxing wine (if using), and 1 tbsp cornstarch. Toss to coat and let rest for 15–30 minutes in the refrigerator. The cornstarch creates a thin protective layer that helps the chicken stay juicy and get a slight velvety texture.

💡 Pro tip: Do not over-marinate; 15–30 minutes is sufficient to tenderize and texture the meat.
2

2. Mix the sauce

In a bowl combine 3 tbsp soy sauce, 1 tbsp rice or black vinegar, 2 tsp sugar, and 1/3 cup chicken stock. Dissolve 1 tsp cornstarch in a little cold water and add to the mixture. Stir until smooth and set aside.

💡 Pro tip: Taste the sauce before adding cornstarch; adjust sweetness or acidity to your preference.
3

3. Preheat the pan and toast aromatics

Heat a 10–12 inch stainless steel or nonstick pan over medium-high heat. Add 1 tbsp oil. When hot, add the peanuts and toast, stirring, until golden — remove and set aside. Briefly toast dried chiles and Sichuan peppercorns until aromatic, taking care not to burn them, then remove and set aside with the peanuts.

💡 Pro tip: Work quickly—nuts and chiles can go from toasted to burnt in seconds.
4

4. Brown the chicken in batches

Add another tablespoon of oil to the hot pan. Add half the chicken in a single layer and cook undisturbed until the underside is golden, about 1–2 minutes, then toss and continue until nearly cooked through. Remove to a plate and repeat with remaining chicken. Browning in batches prevents steaming and promotes caramelization.

💡 Pro tip: Ensure the pan is hot and do not crowd it; this allows proper searing.
5

5. Cook aromatics and vegetables

Lower heat to medium-high, add a bit more oil if needed, then add minced garlic, ginger, and the white parts of scallions. Stir until fragrant, about 20–30 seconds. Add diced bell pepper and onion (if using) and stir-fry briefly until just tender-crisp.

💡 Pro tip: Add vegetables that take longer first; softer vegetables should be added later to keep texture contrast.
6

6. Combine chicken and sauce

Return the chicken to the pan with any accumulated juices. Pour in the prepared sauce and stir constantly as it comes to a simmer. The cornstarch slurry will activate and thicken the sauce; continue cooking until the sauce is glossy and coats the chicken, about 1–2 minutes.

💡 Pro tip: If the sauce becomes too thick, add a tablespoon of stock or water to loosen.
7

7. Finish with peanuts and scallions

Stir in the toasted peanuts, dried chiles (if you removed seeds earlier and kept them separate), and the green parts of the scallions. Toss once to combine, then remove from heat immediately to prevent overcooking.

💡 Pro tip: Add peanuts at the very end to preserve crunch; overcooking makes them soft.
8

8. Rest and serve

Let the stir-fry sit for a minute to settle, then serve hot over steamed rice. Garnish with extra scallions or a few toasted sesame seeds if desired.

💡 Pro tip: Serve immediately for the best texture; reheated leftovers can be gently warmed on the stovetop.

More to Cook

You Might Also Like

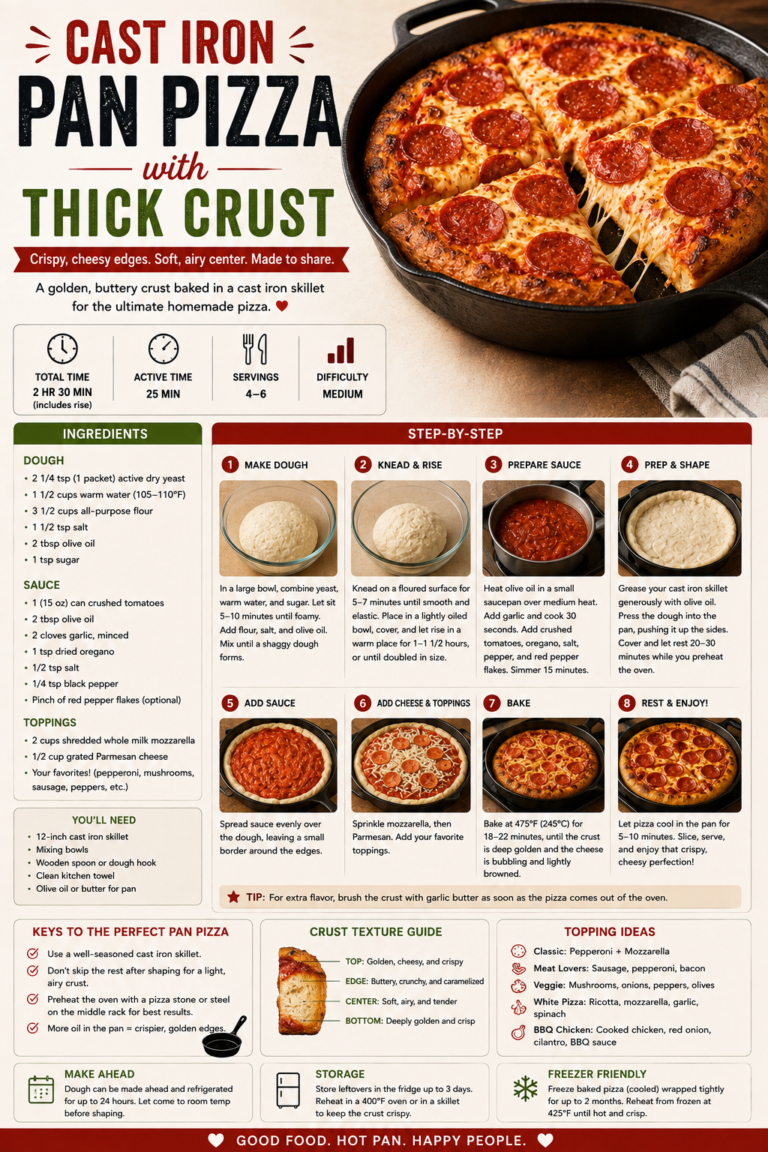
Cast Iron Pan Pizza with Thick Crust

Make a restaurant-style thick-crust pizza at home using a cast iron skillet—crispy bottom, pillowy interior, and loaded with your favorite toppings. This easy method uses a simple dough, a hot preheated skillet, and a few tips for perfect texture every time.

View Recipe →

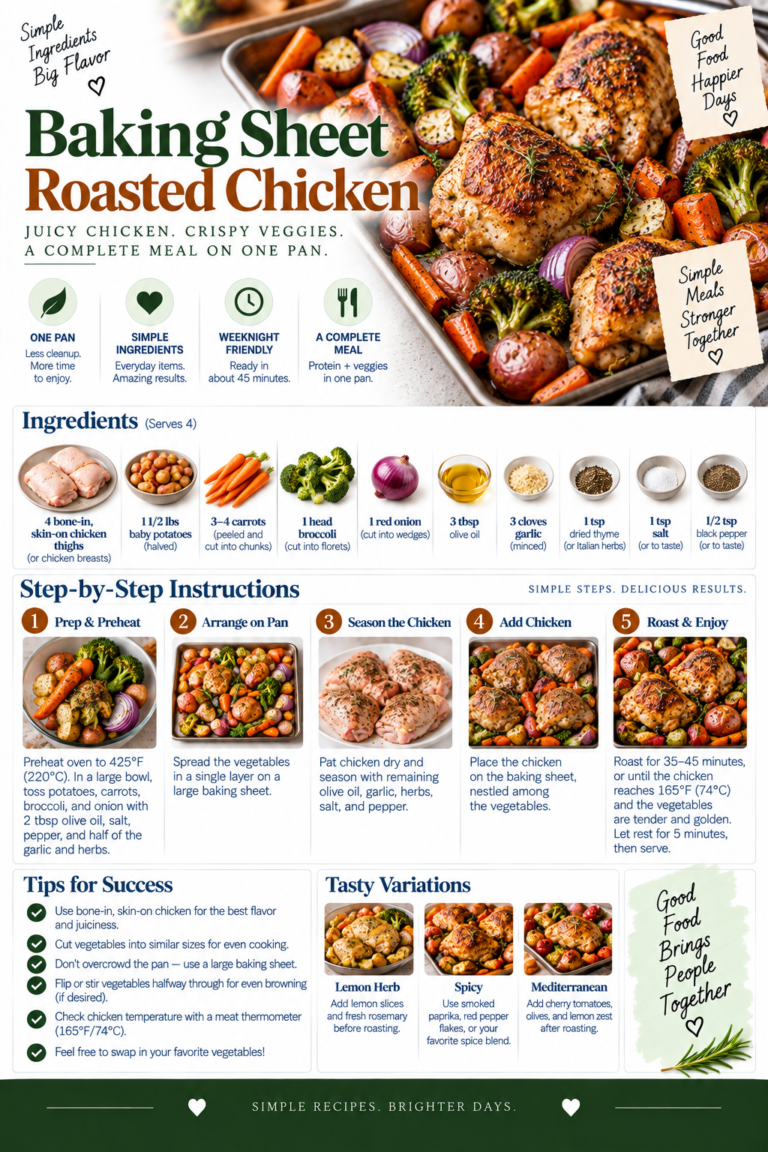
Baking Sheet Sheet Pan Roasted Chicken

A foolproof sheet pan roasted chicken that delivers crispy skin, juicy meat, and easy cleanup — perfect weeknight or weekend dinner. Uses a rimmed baking sheet for even roasting and requires minimal hands-on time.

View Recipe →

Meal Prep Chicken and Rice for the Week

Make weekday lunches easy with this simple, flavorful Meal Prep Chicken and Rice recipe—built for batch cooking and packed into ready-to-go containers. Learn equipment tips, storage advice, and variations to keep your meals fresh and delicious all week.

View Recipe →

Stay in the loop

Get the Best Kitchen Picks Delivered

New buying guides, honest reviews, and kitchen-tested recipes — straight to your inbox. No spam, ever.