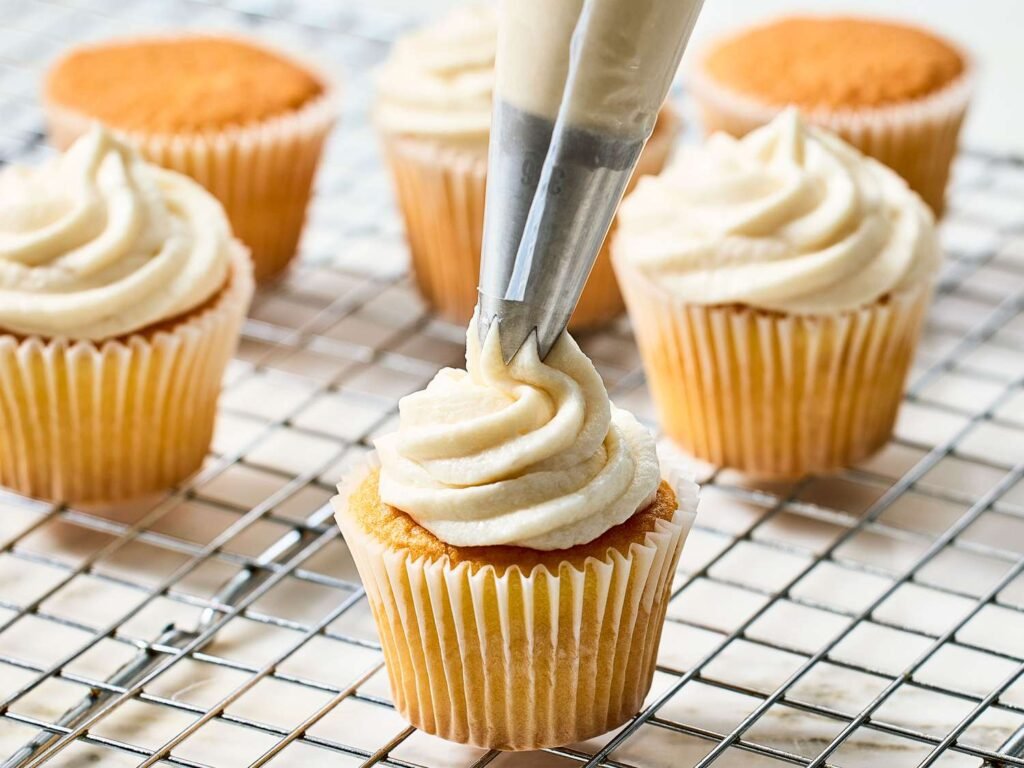
Classic Vanilla Buttercream Frosting

Light, fluffy vanilla buttercream frosting made with your stand mixer. The technique of beating butter before adding sugar is the key to frosting that's airy rather than dense.

24 Servings
Easy Difficulty

Ingredients

Servings:
24
Nutrition (per serving)
Calories 185 kcal
Fat 10g
Carbohydrates 24g
Sugar 23g
🍳

Best Made With: Stand Mixer

See Our Top Stand Mixer Picks →

A great buttercream frosting is all about technique, and a stand mixer makes perfect technique effortless. The two key steps — beating the butter until pale and fluffy before adding sugar, and beating again after all ingredients are combined — incorporate air that transforms dense, greasy frosting into something light and cloud-like.

Any stand mixer with a paddle attachment works for buttercream, but the KitchenAid Artisan is particularly well-suited — its flat beater paddle and planetary mixing action produce exceptionally smooth, lump-free frosting. The Cuisinart SM-50 produces equally good results at a lower price point.

Why Room Temperature Butter Matters

Butter temperature is the single most important variable in buttercream. Cold butter (straight from the fridge) won’t aerate properly and produces dense, lumpy frosting. Melted or too-soft butter produces greasy, runny frosting that won’t hold its shape. The ideal temperature is 65-68°F — the butter should hold its shape but indent easily when pressed.

Fixing Common Problems

If your frosting is too stiff, add heavy cream one teaspoon at a time. If it’s too loose, add powdered sugar one tablespoon at a time. If it looks curdled or broken, the butter was too cold — keep beating and it will come together. If it’s greasy, the butter was too warm — refrigerate for 10 minutes and beat again.

Nutrition Information

Nutrient Per 2 tbsp serving
Calories 185
Fat 10g
Carbohydrates 24g
Sugar 23g

Instructions

1

Ensure butter is at room temperature

Ensure butter is at true room temperature — it should indent easily when pressed but not be greasy or melted. Cold butter produces lumpy frosting; melted butter produces runny frosting.

💡 Pro tip: The ideal butter temperature is 65-68°F. If you forgot to soften it, cut into small cubes and let sit at room temperature for 30-45 minutes.
2

Beat butter until pale and fluffy

Beat butter in the stand mixer with the paddle attachment on medium-high speed for 3-4 minutes until pale, fluffy, and doubled in volume. This step is critical — properly beaten butter is the foundation of light, airy frosting.

💡 Pro tip: The butter should turn from yellow to almost white. This color change indicates that air has been incorporated.
3

Add powdered sugar gradually

Reduce speed to low. Add sifted powdered sugar one cup at a time, mixing until incorporated before adding the next cup. Adding sugar too fast creates a cloud of powdered sugar.

💡 Pro tip: Sifting the powdered sugar prevents lumps in the finished frosting.
4

Add vanilla and salt

Add vanilla extract and salt. Mix on low until combined.

💡 Pro tip: Use pure vanilla extract, not imitation — it makes a noticeable difference in flavor.
5

Add cream to adjust consistency

Add heavy cream 1 tablespoon at a time, mixing on low, until the frosting reaches your desired consistency. For piping, use less cream (stiffer). For spreading, use more cream (softer).

💡 Pro tip: Add cream slowly — it's easier to thin frosting than to thicken it.
6

Final beat for lightness

Increase speed to medium-high and beat for 2-3 minutes until the frosting is very light, fluffy, and smooth. The extended beating incorporates air for a lighter texture.

💡 Pro tip: This final beating is what separates good buttercream from great buttercream. Don't skip it.

More to Cook

You Might Also Like

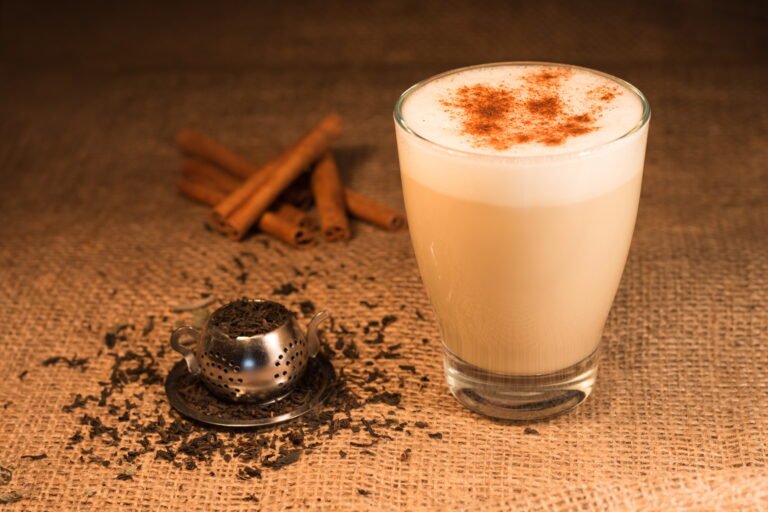
Homemade Chai Tea Latte

Warm up with a homemade chai tea latte — a spiced black tea simmered with milk and sweetener, finished with frothy steamed milk for cafe-style comfort at home. Easy to customize and ideal for making with an espresso machine or milk frother.

View Recipe →

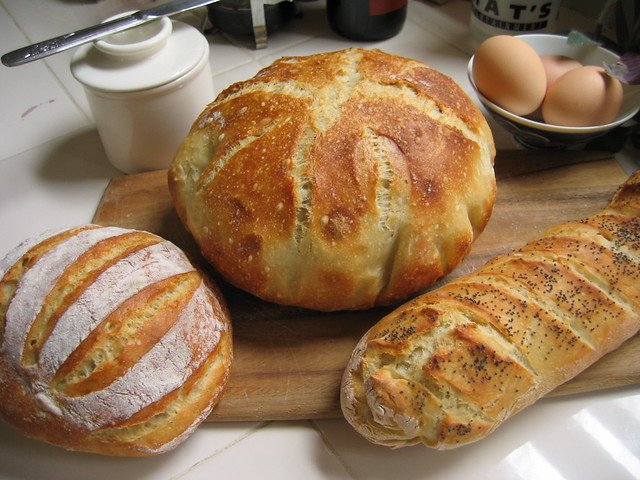
Dutch Oven No-Knead Bread

A simple, hands-off recipe for artisan-style no-knead bread baked in a Dutch oven, producing a crisp crust and open, chewy crumb. Perfect for home bakers who want bakery-quality loaves with minimal effort.

View Recipe →

Perfect Brunoise Vegetable Dice

Master the classic brunoise cut with this step-by-step guide for perfectly uniform vegetable dice—ideal for garnishes, sauces, and salads. Learn tool choices, technique, and storage tips to work faster and safer with a chef's knife.

View Recipe →

Stay in the loop

Get the Best Kitchen Picks Delivered

New buying guides, honest reviews, and kitchen-tested recipes — straight to your inbox. No spam, ever.